How to use Cloudflare Access to protect specific subdomains
There are cases when you want to publish a specific service on a subdomain of your public domain, it might be on the same server with other services, or on a different one. You may have no native way of enforcing any additional authentication on that specific service, but you want to protect it and restrict access to only a group of people, certain source countries, or use several other factors to allow access.
Cloudflare Access is a decent way to achieve this, and, you can implement it as part of the entirely free tier of Cloudflare. Before we look at today's walktrhough and use case, a few words about Cloudflare access, since not all of you might be familiar with it.
Cloudflare Access is a key component of Cloudflare's Zero Trust platform which is also available for users of Cloudflare's free Tier. Essentially, it's a service that allows organizations to secure their internal applications without relying on traditional VPNs. Here's a breakdown of what it can do, albeit, a high-level one:
Zero Trust Access:
It operates on the principle of "never trust, always verify." This means that every request to an application is checked for user identity and device context, regardless of where the user is located.
Securing Applications:
Cloudflare Access protects both self-hosted and SaaS applications by controlling who can access them, from where, and how.
Identity Verification:
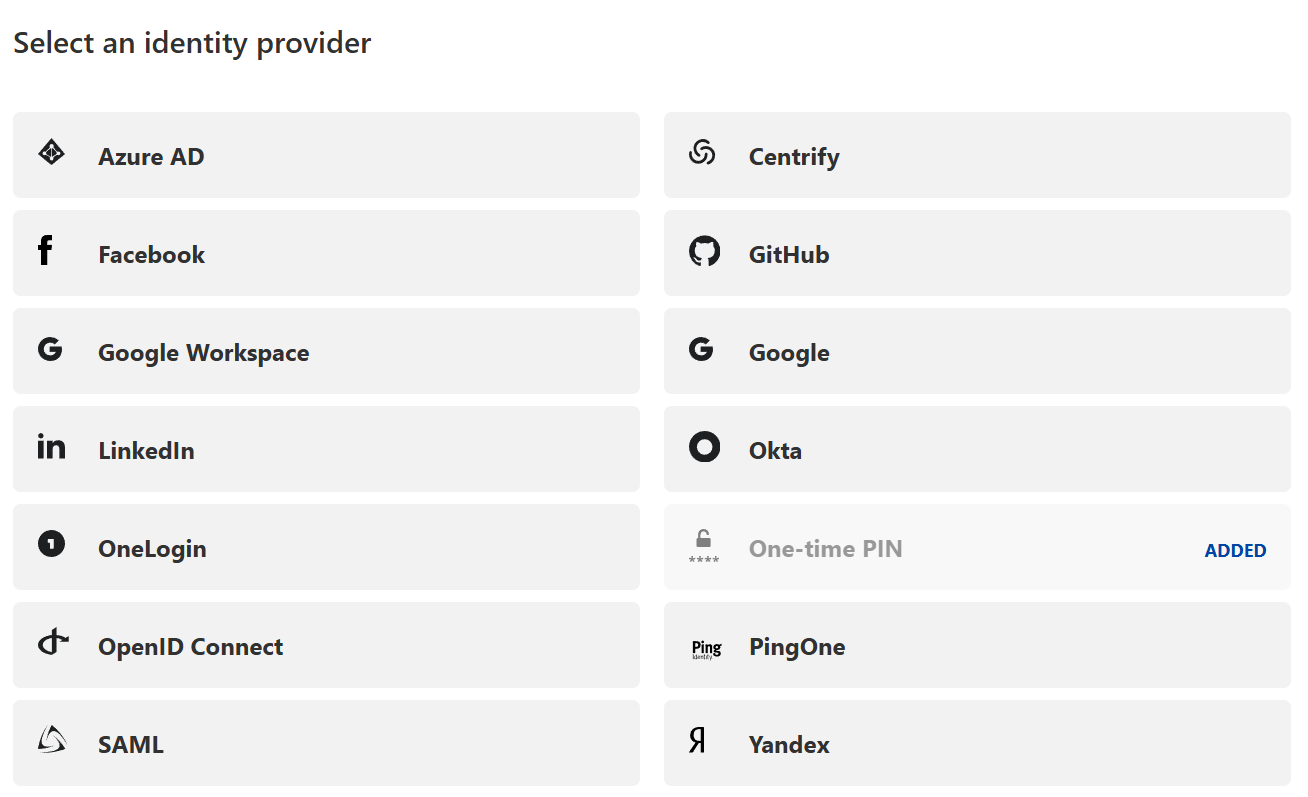
It integrates with various identity providers, allowing organizations to enforce consistent authentication policies. For the sake of today's use case, I will single out Google Workspace, but, there are several other options you can choose from:
Replacing VPNs:
It offers a more secure and user-friendly alternative to traditional VPNs, eliminating the need for complex network configurations. Also, we all have seen the recent attacks on different VPN solutions from most of the leading providers of VPN products, so, looking for alternatives is a smart thing to do.
Context-Aware Policies:
Administrators can create granular access policies based on factors like user identity, device posture, and location.
In simpler terms, Cloudflare Access helps organizations ensure that only authorized users can access their internal resources, regardless of where those users are working.
There are 2 main approaches to how you can implement this, one is by installing an agent called cloudflared (Known as Cloudflare Tunnel) on the server where the application runs, this service establishes an outbound connection to the Cloudflare infrastructure allowing it to also work for internal resources that normally are not exposed to the internet at all to be accessed this way without allowing inbound traffic.
For today, we focus on the second one, which does not require any installation. There are pros and cons to both options, I will not go into it here, but you can read the following documentation to find what will be best suited for your requirements.
https://www.cloudflare.com/learning/security/glossary/what-is-zero-trust/
Prerequisites
Ensure the following:
- Your domain is hosted on Cloudflare, you can sign up for a free account here.
- Your Domain's DNS needs to be managed on Cloudflare (again, this is free and offers several other benefits).
- The subdomain you want to protect is already configured in your DNS settings.
- You have access to the Cloudflare dashboard and Zero Trust features.
Configure DNS for the Subdomain (if not yet done)
Note: Throughout this article, I will be using example.com and my.example.com as a domain and subdomain. Obviously you need to use your own domain for configuration 😄
- Log in to your Cloudflare account.
- Navigate to DNS settings for example.com.
- Add a DNS record for your subdomain:
- Type: CNAME
- Name: my
- Target: The IP or hostname of your server hosting my.example.com.
- Proxy Status: Ensure it is set to Proxied (orange cloud icon).

Set Up Cloudflare Access
Cloudflare Access will act as a gatekeeper, requiring authentication before users can access my.example.com.
Create an Application:
Go to the Zero Trust Dashboard.
Navigate to Access > Applications.
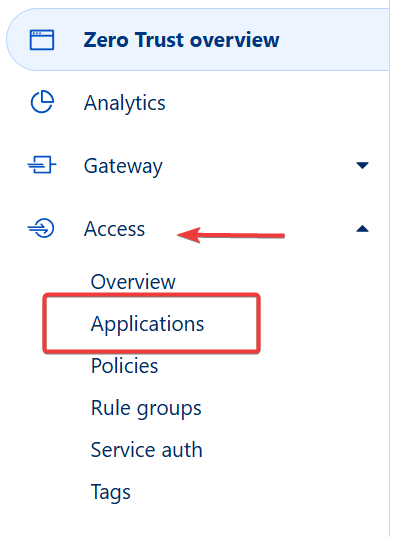
Click Add an Application and select Self-Hosted.

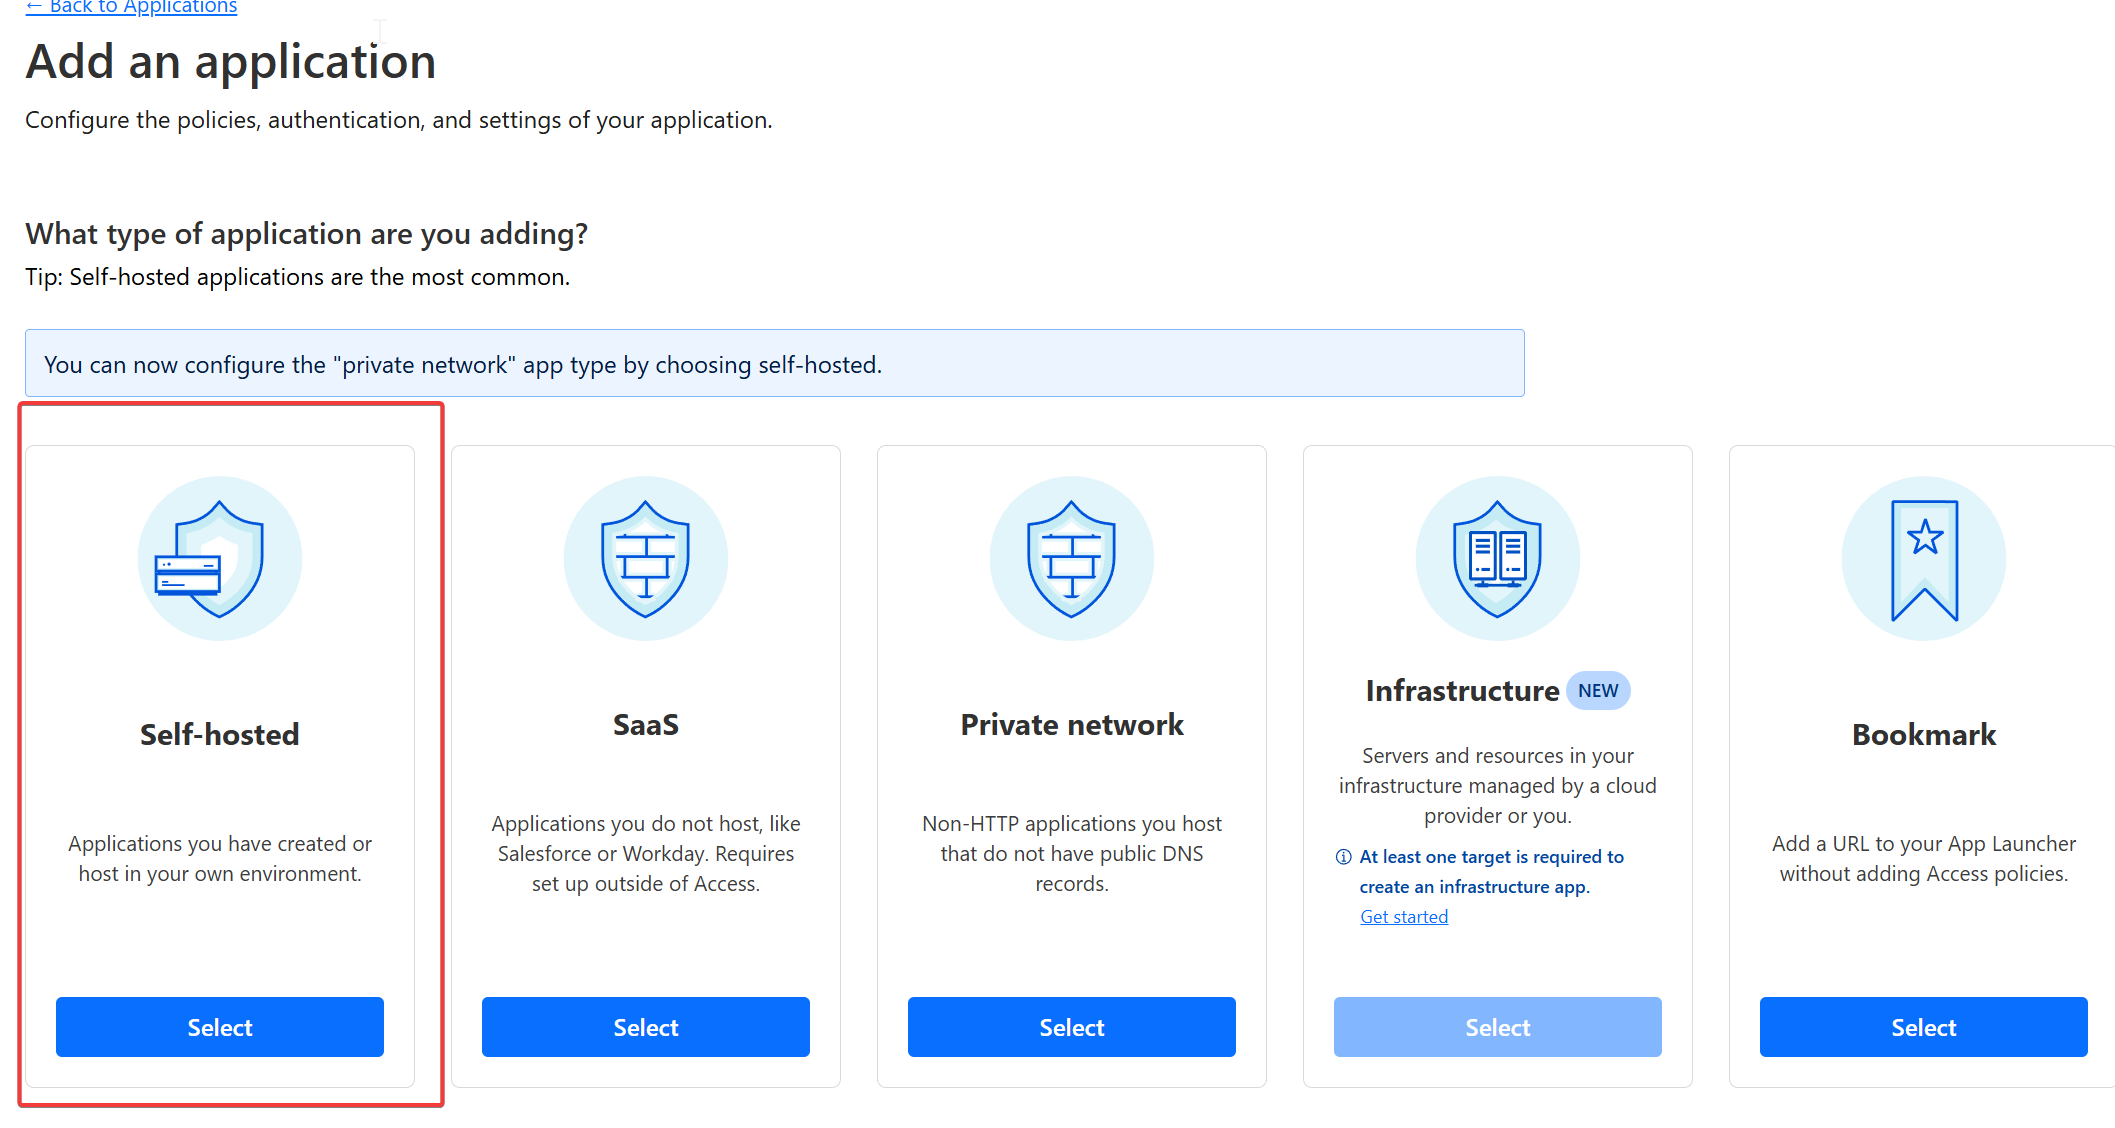
Fill out the application details, this is just an example:
Name: My Subdomain
Domain: my.example.com
Appearance: Customize the login page (optional).
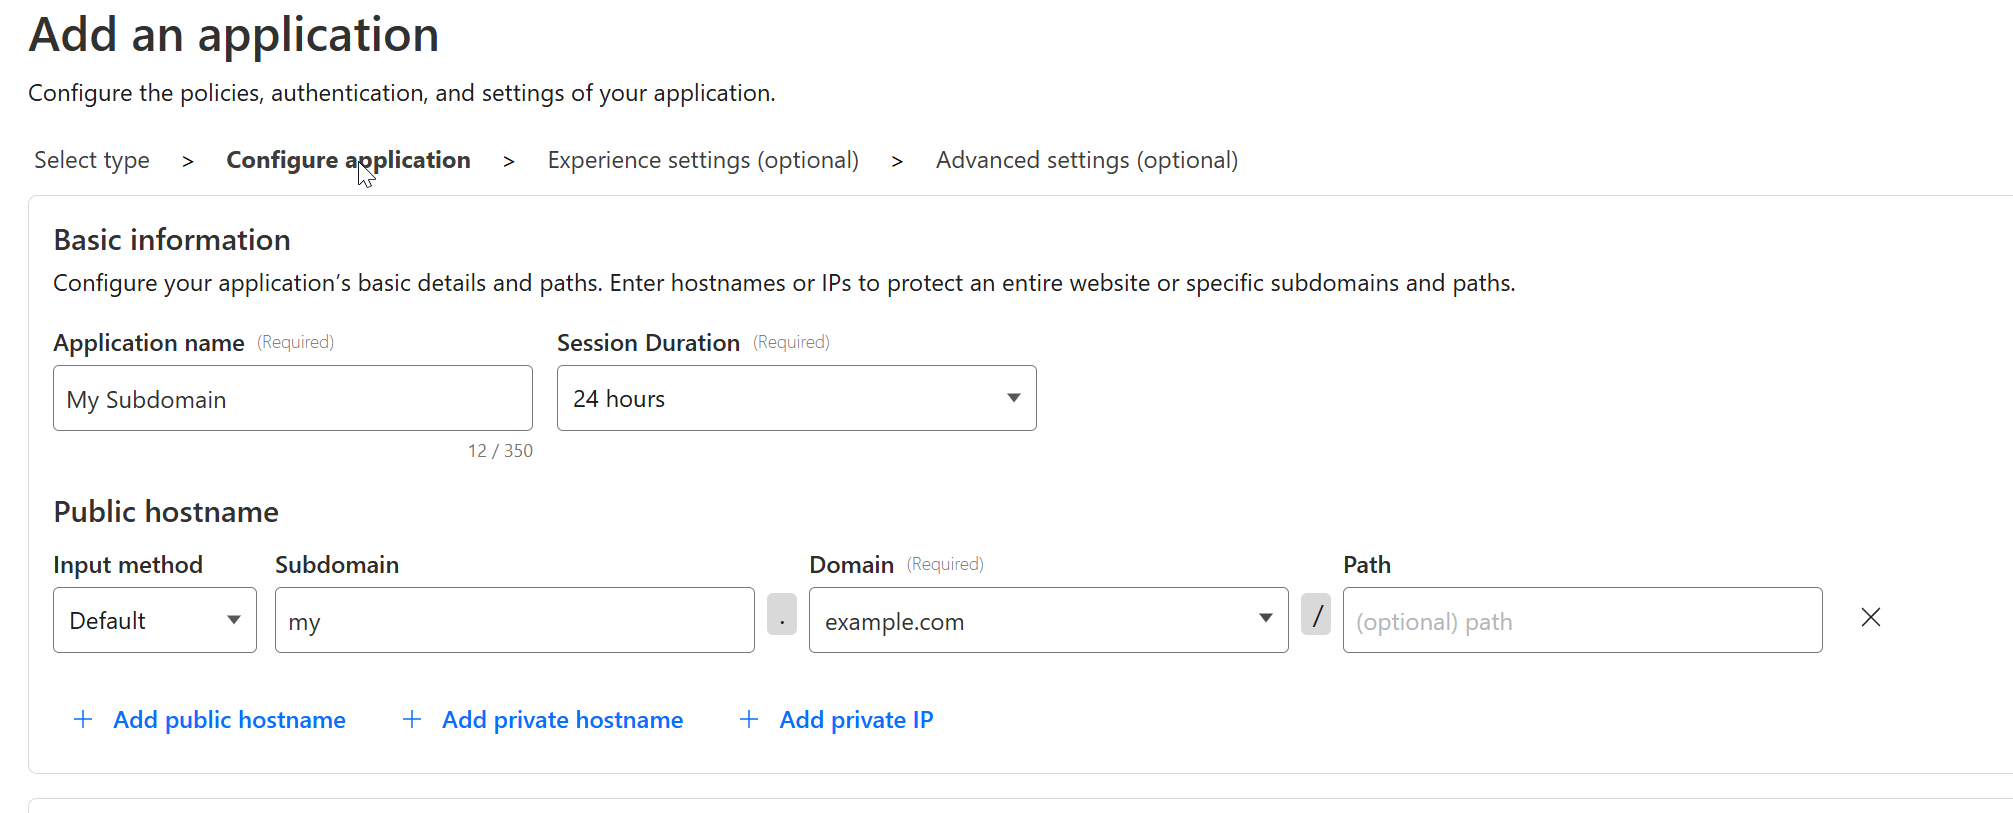
Note the Path option, if your service does not run directly on the subdomain but a path under it, this is where you can be granular with it.
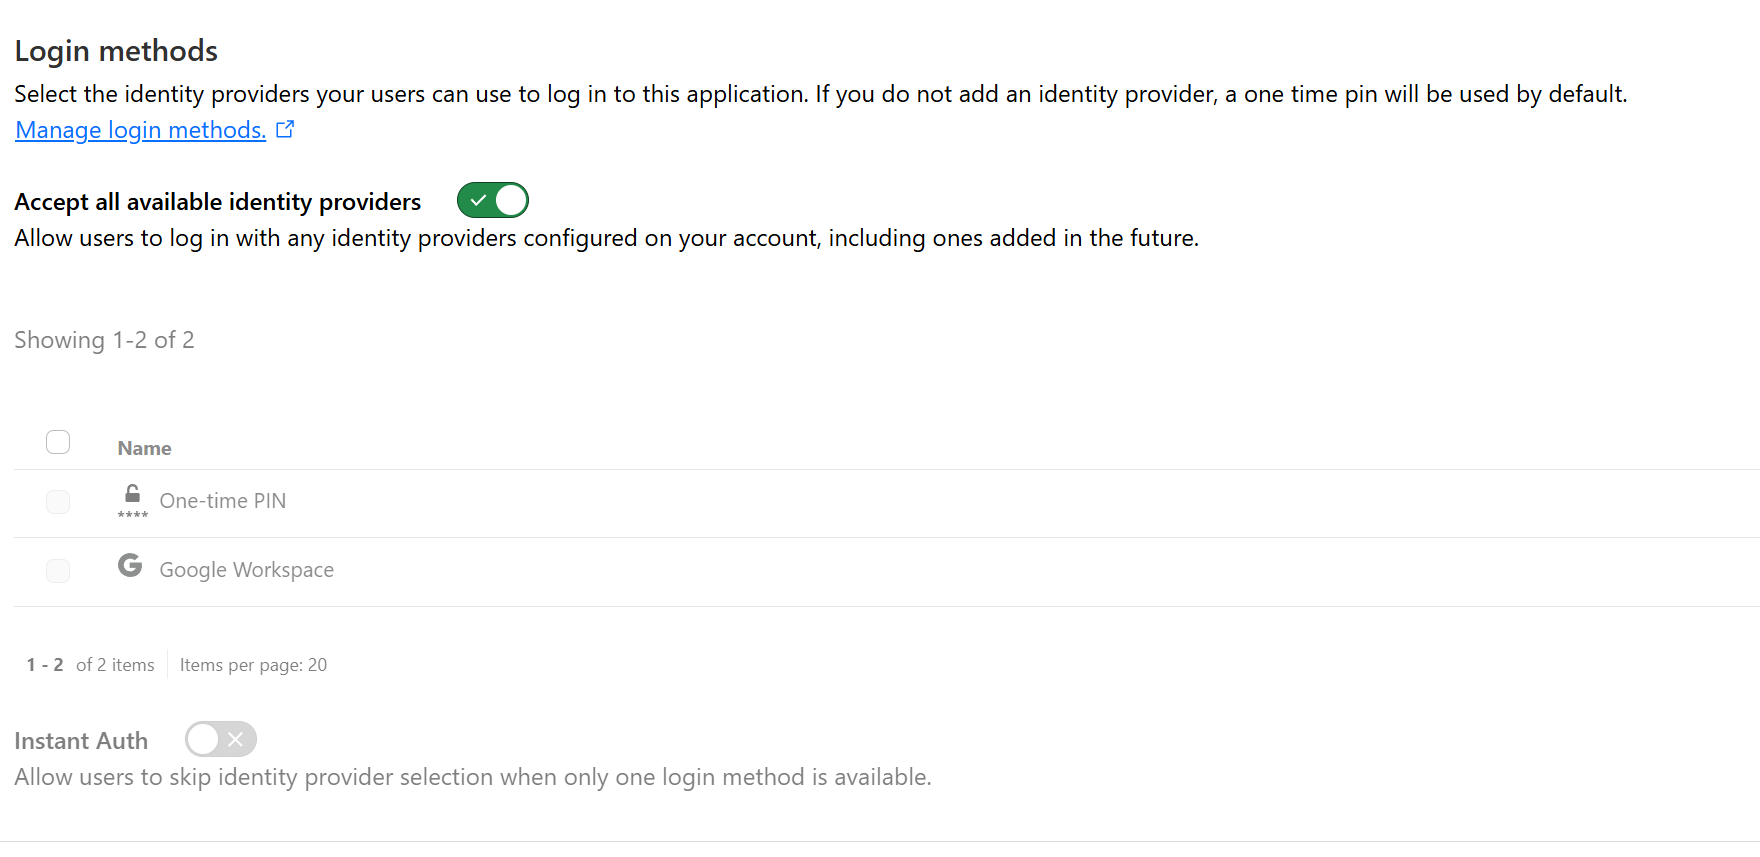
Select an Identity Provider (IdP):
Use Google Workspace, Azure AD, or other supported providers for authentication. For today, I have used Google Workspace.
The default setting here is One-time-PIN which sends a pin to the configured email and access will be grated upon you providing that PIN. Obviously, this is not so secure, I always turn that off. If this is a new setup, you will not see the Google Workspace option yet, you first have to create this by linking Cloudflare Access with your Google Workspace.
I will not go into much detail as to the configuration on the Google Workspace site, it is well documented in the Cloudflare steps to connect it, and you can just follow those, the same is true for all the other Authentication Providers, such as AzureAD.
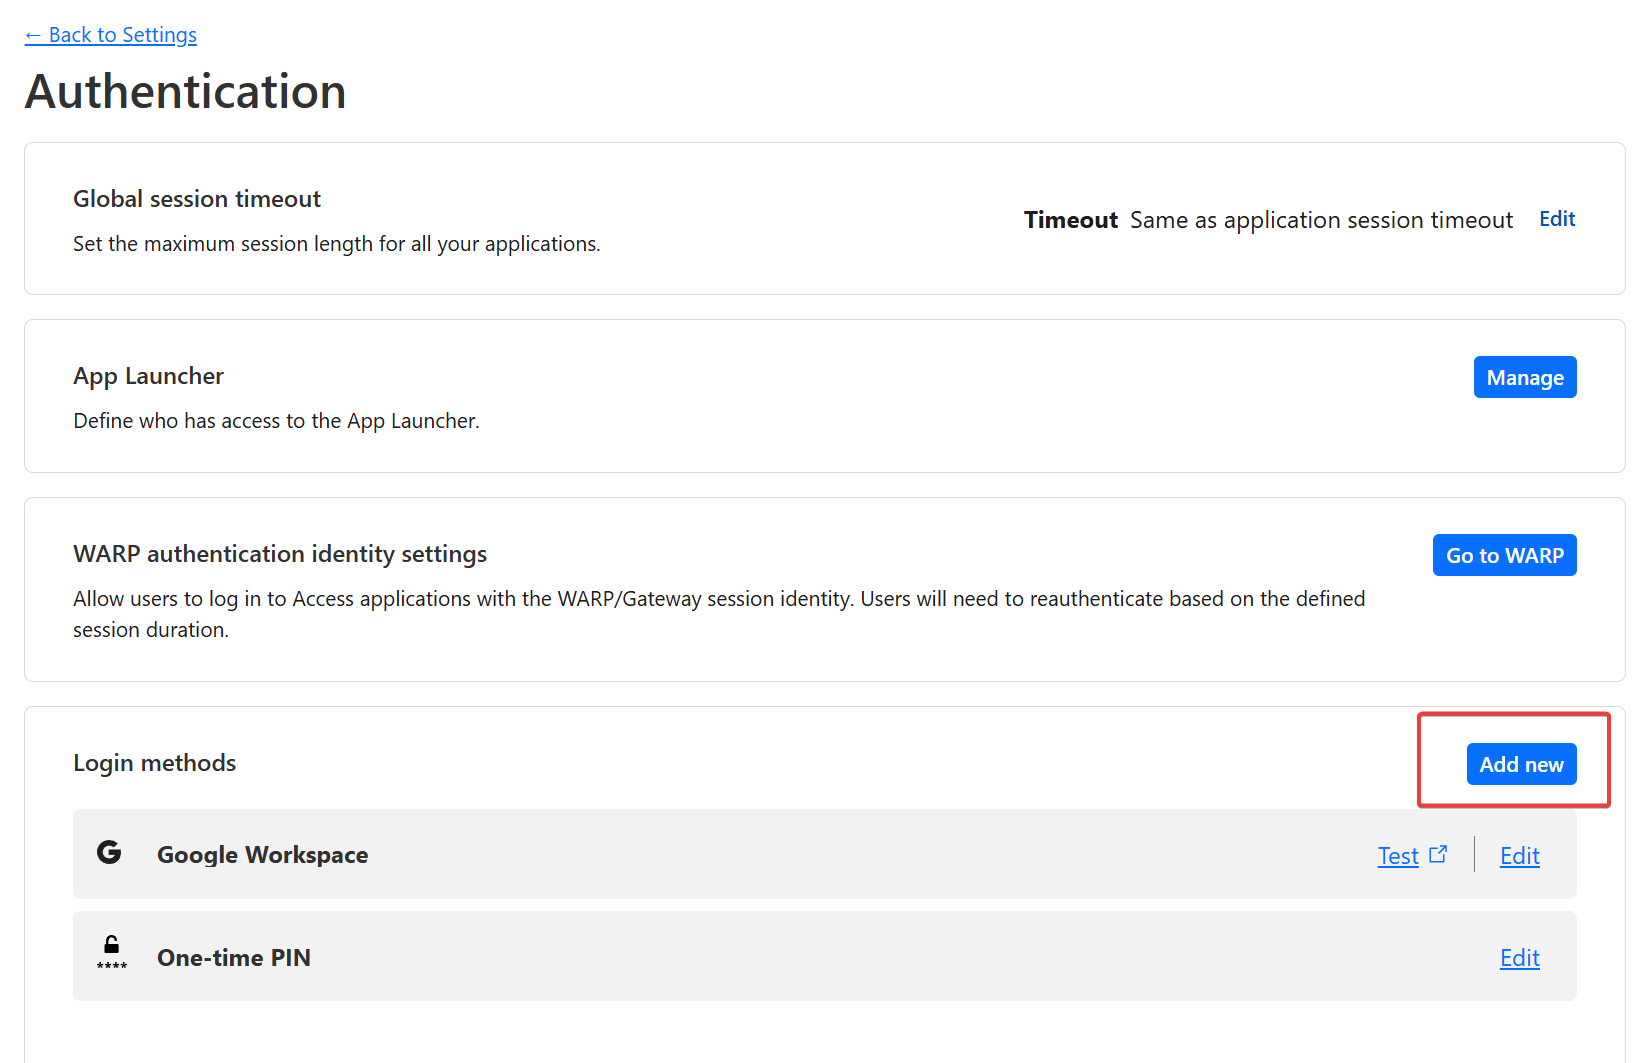
You can configure the identity provider by navigating to:
Zero Trust - Settings - Authentication

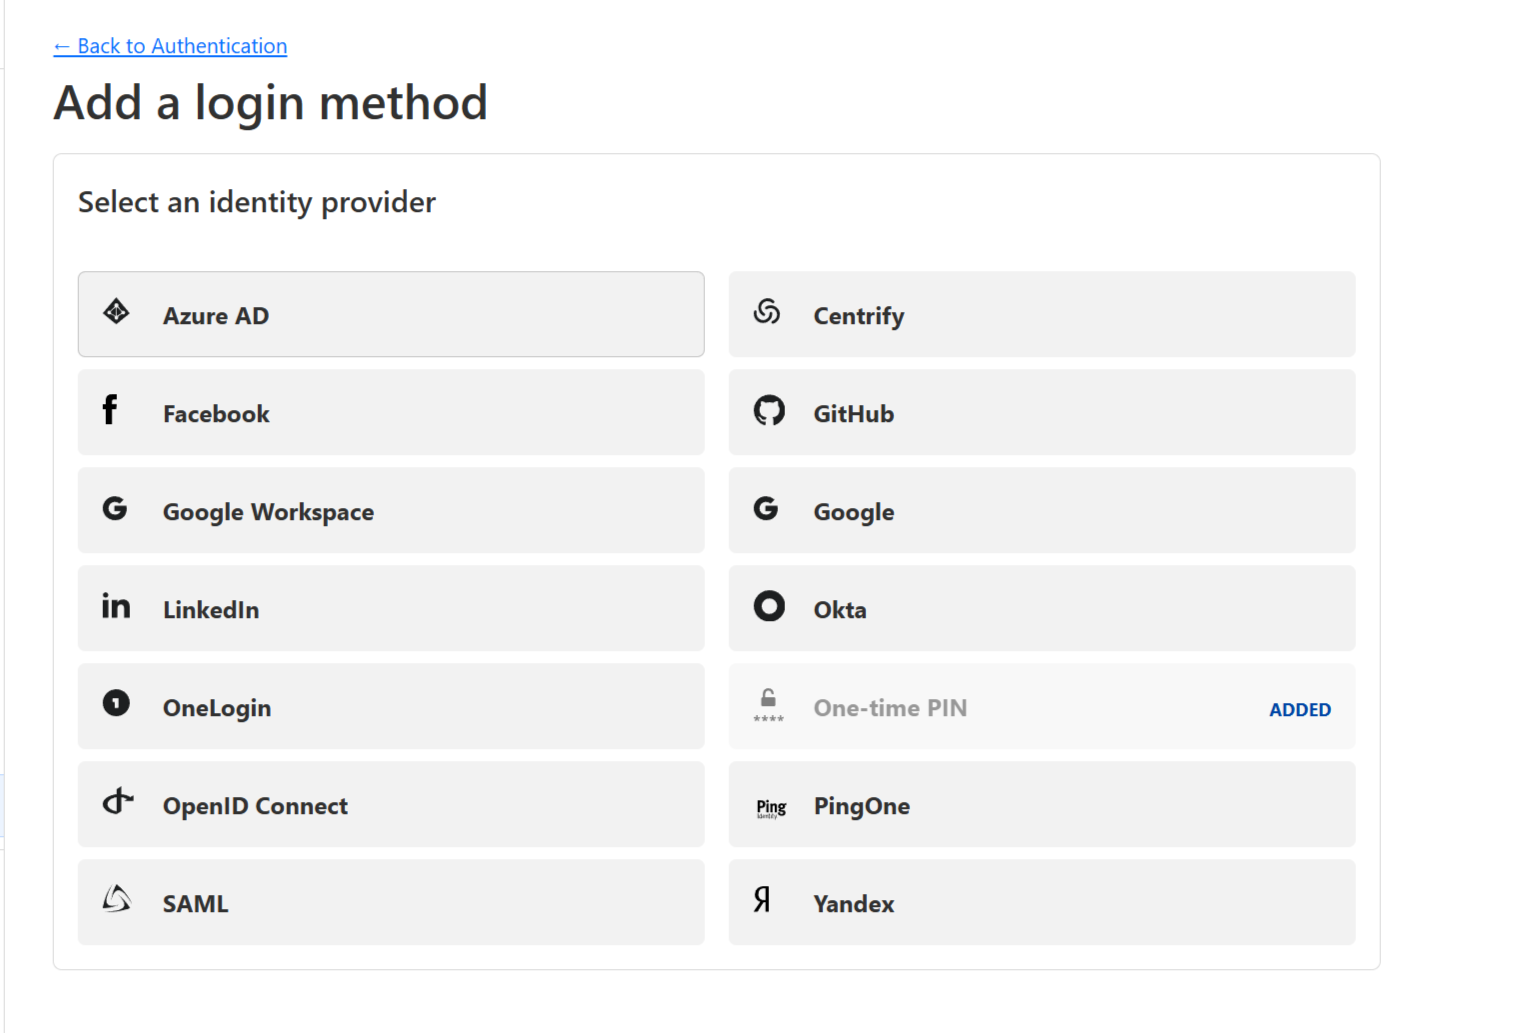
Choose "Add New" on the next step:
And here, pick the Authentication Provider you would like to use:
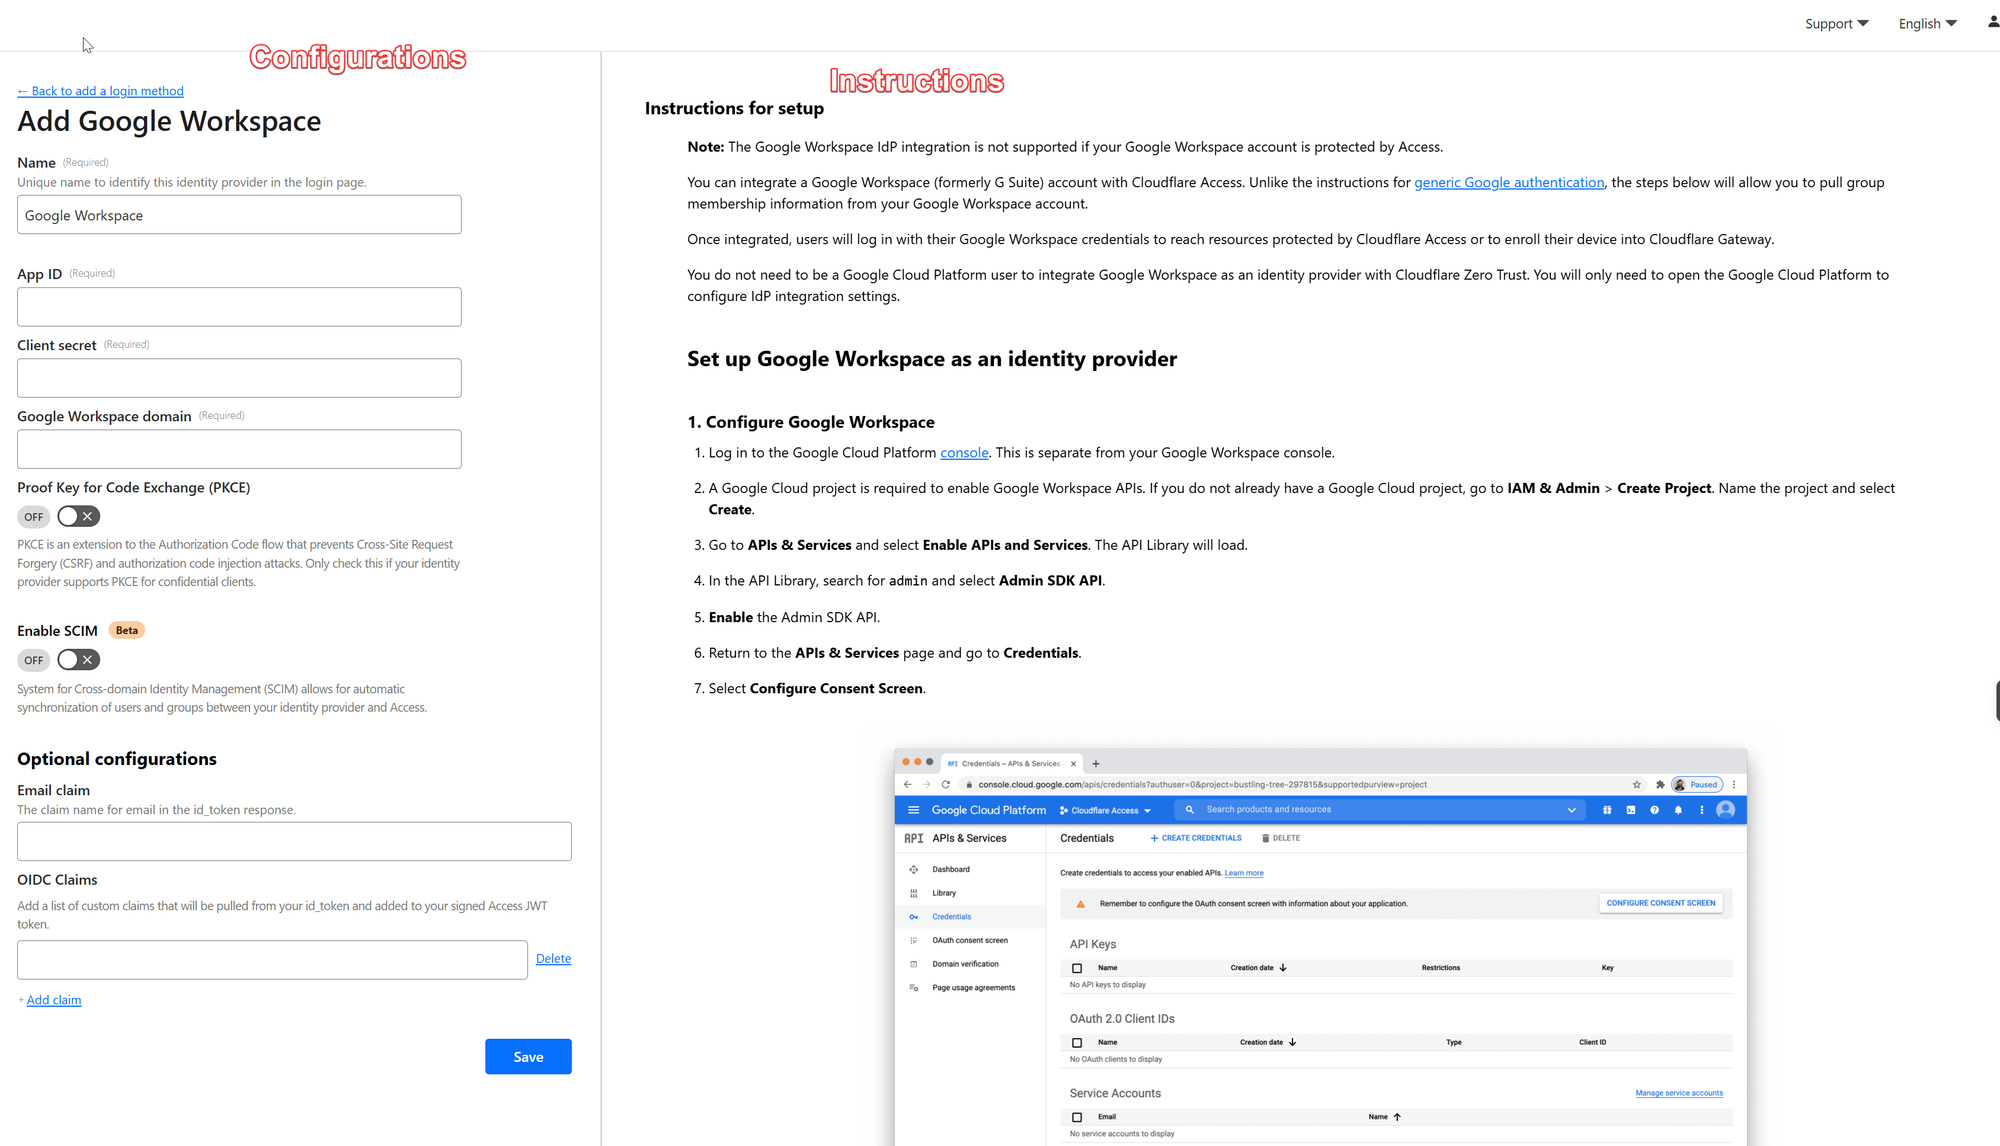
Once you select one, you will get to the configuration page, and on the right-hand side of the window, you will see the very detailed step-by-step instructions:
Once you have completed the steps to connect Cloudflare Access with the Authentication provider of your choice, you will see it as an additional option under
Zero Trust - Settings - Authentication
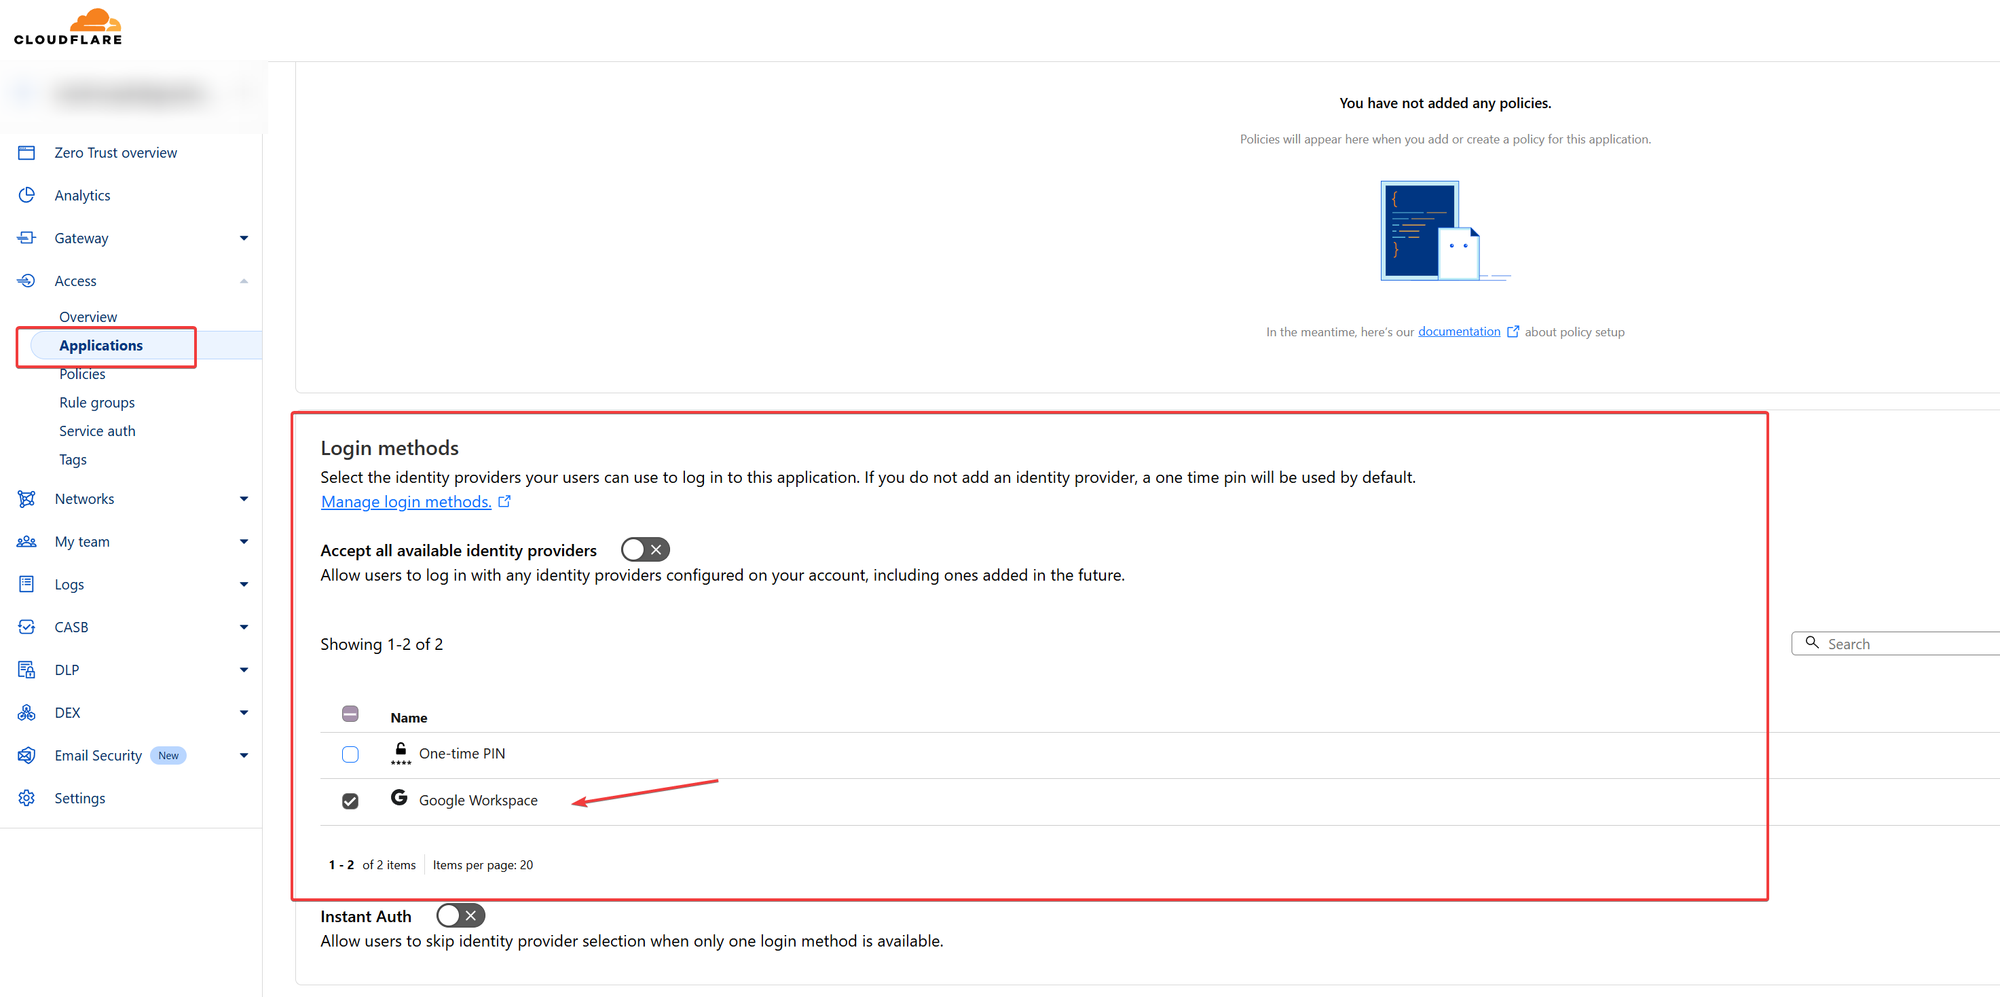
Make sure you select it under Applications for the Application we have created here:
Now, we are almost done, what is left is to create at least one policy, I keep it simple for the demonstration here, but there are a lot of options you can choose from and configure and I recommend that you give it some serious thought what makes sense for you.
Policies are right under the Application Section, choose to create a new policy )in your case this will be empty, in my case, I already have some policies)
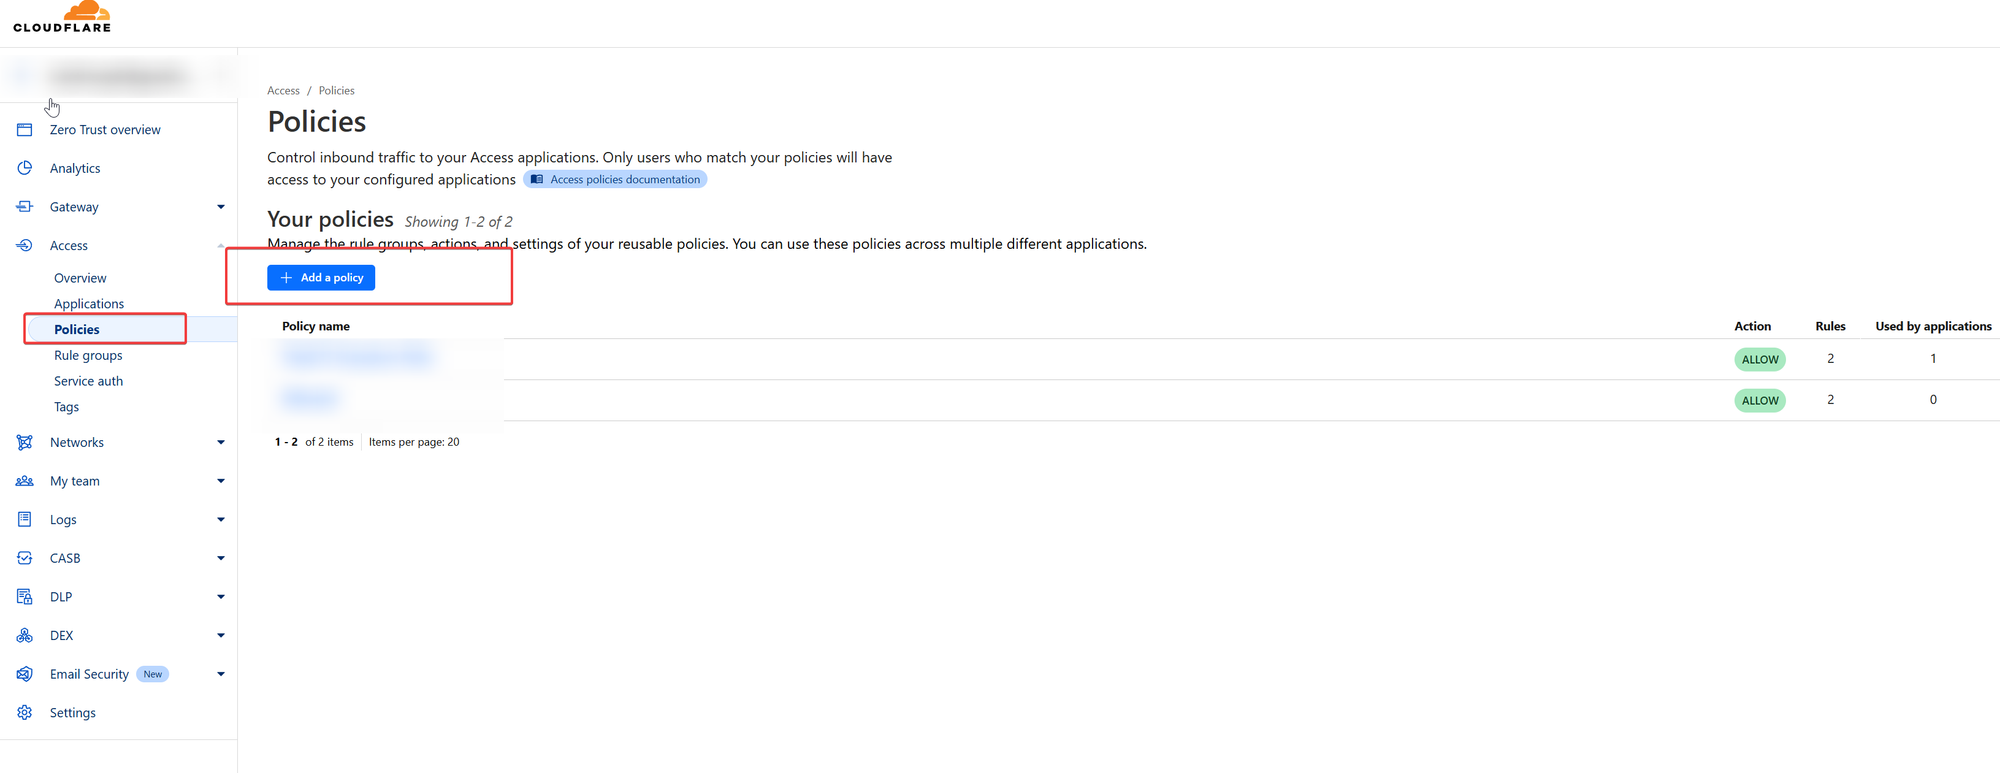
In this sample, we just use one email out of the Google Workspace Tenant that will have access, you can work with Google Groups here, or any other number of identifiers. such as location, I strongly recommend you read the documentation for this carefully to make sure you get the most out of it.

Here we allow the user [email protected] to access and his sessions remain valid for 30 minutes.

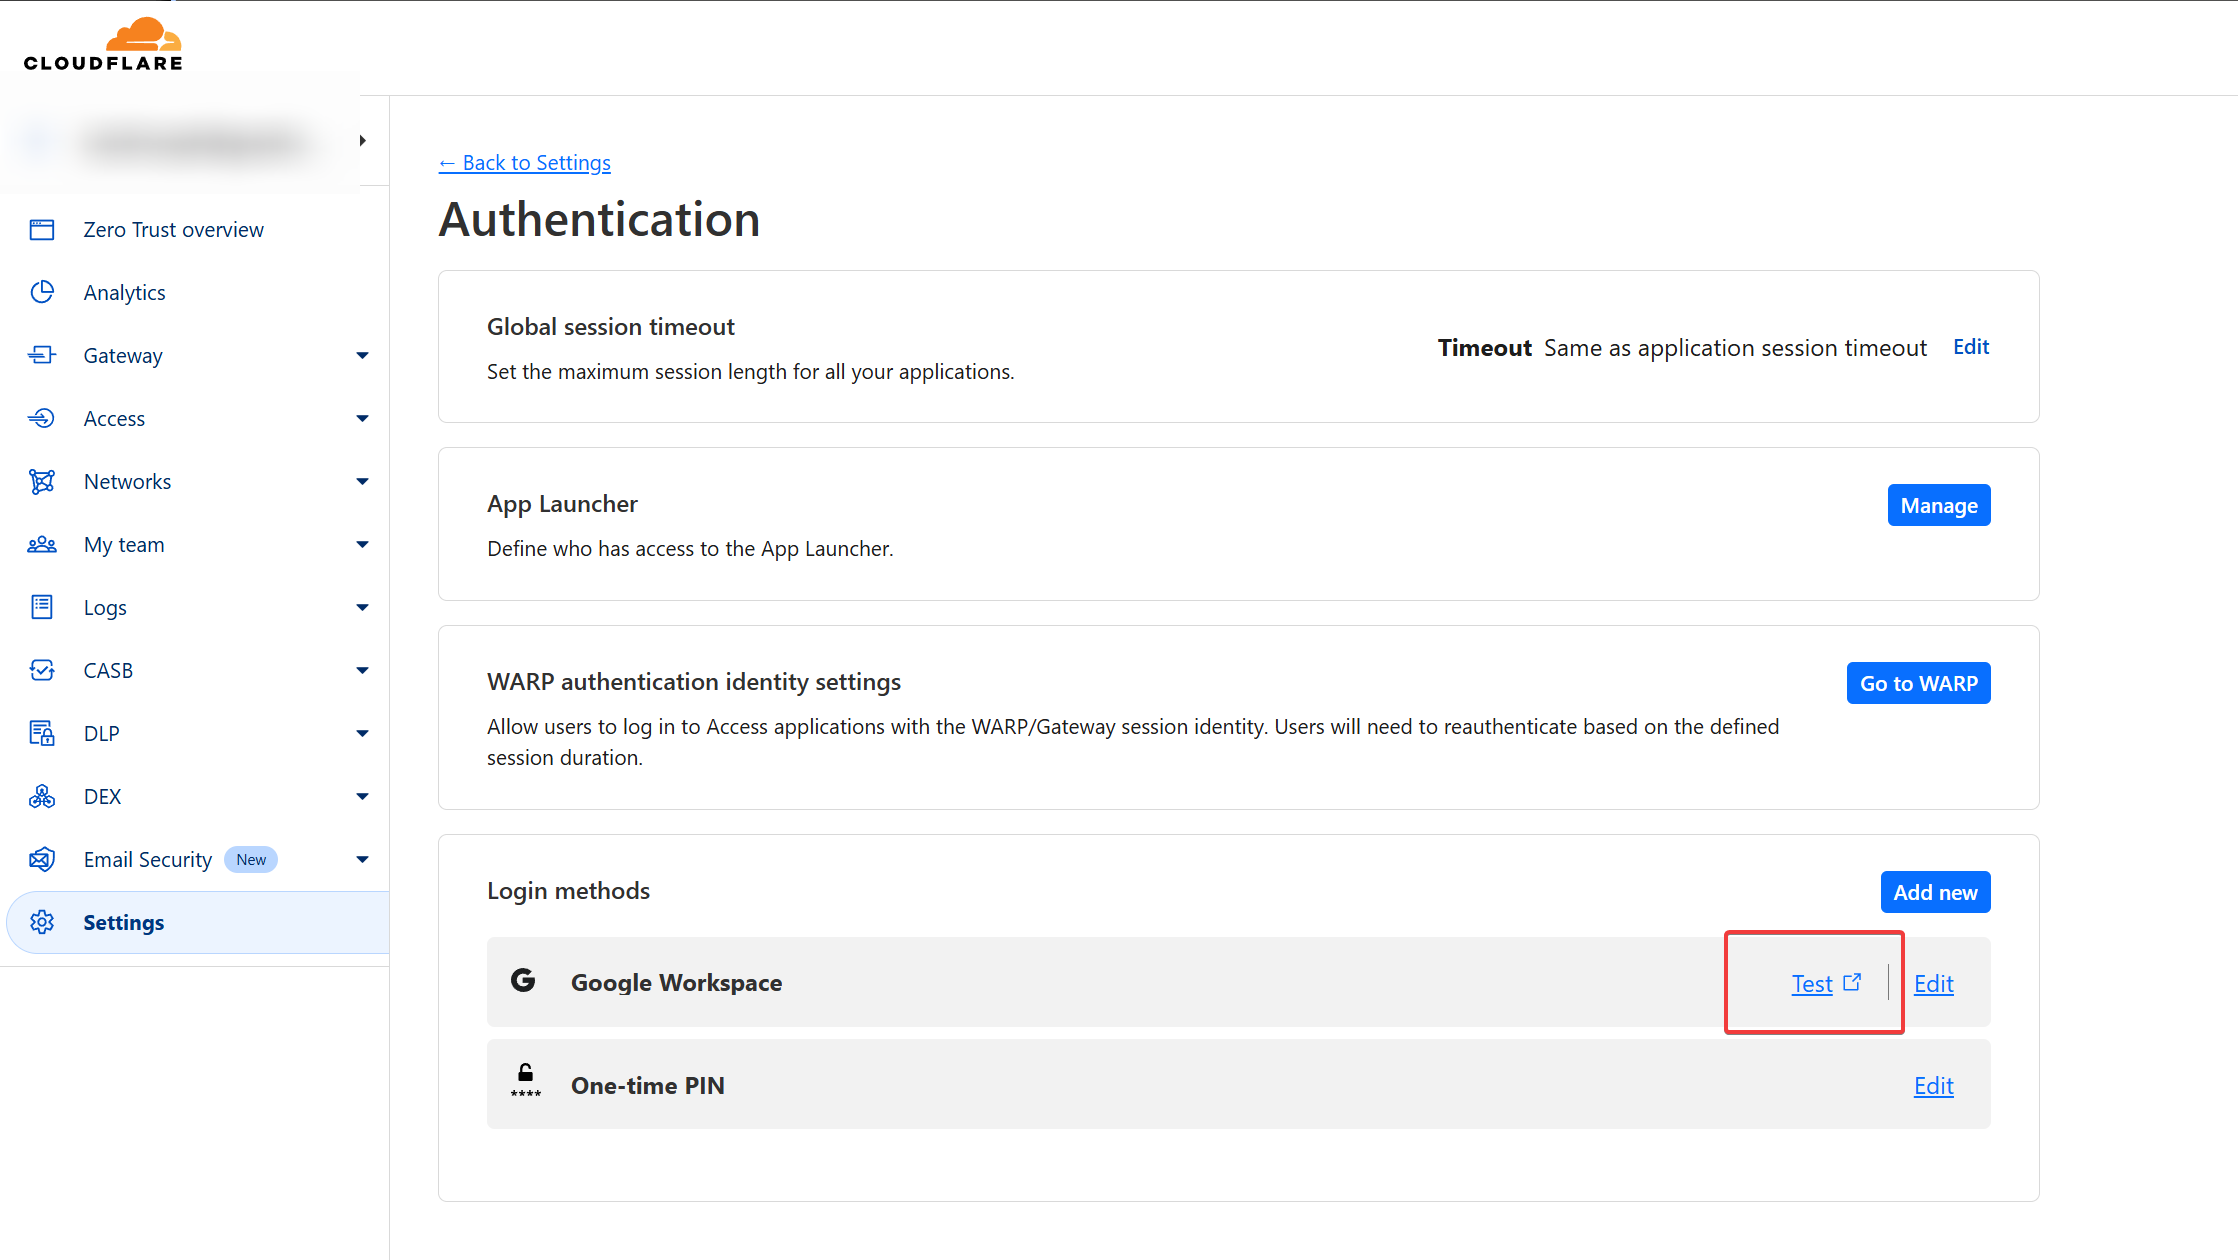
You are now ready to test your setup. If you encounter any issues, first, try to do a test on the Authentication method. You can do so by going to
Settings - Authentication
And use the built-in test feature which will return useful information should it fail.
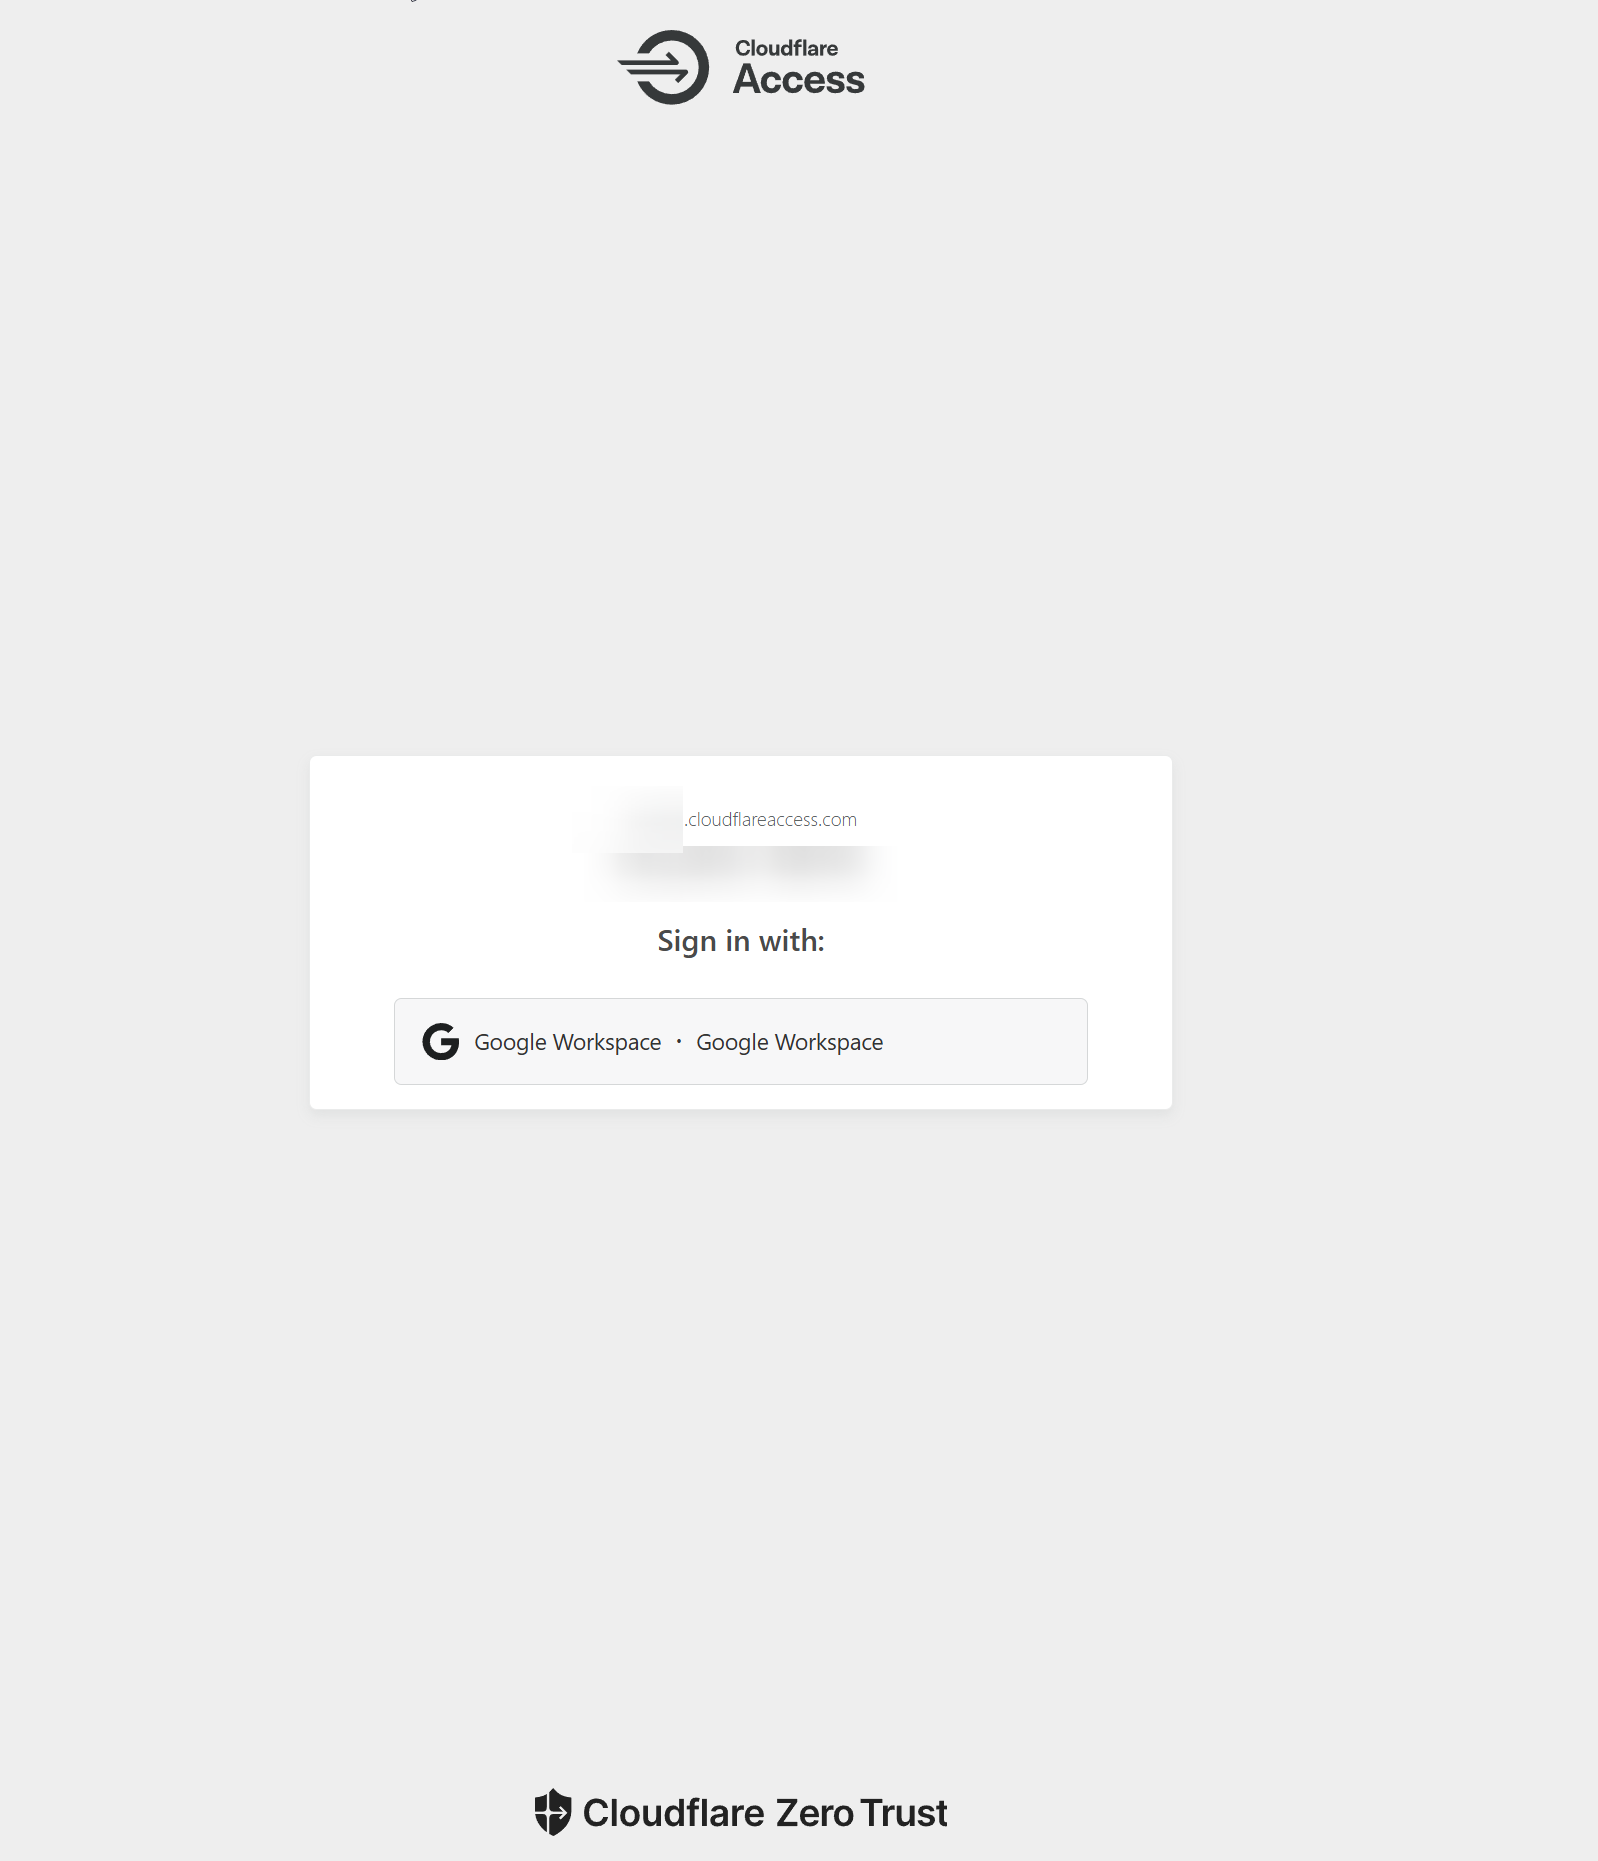
In the end, if all worked out, you should be greeted by a window similar to this when accessing the subdomain you have configured this for:
If you like my articles. buy me a coffee to keep me going 😃