KASM: Using a Container Platform to increase your opsec and privacy during OSINT investigations
Why KASM?
Why KASM?
Kasm Workspaces offers a powerful solution for enhancing security and privacy in online interactions, including during your day-to-day OSINT investigations and activities. With its Zero-Trust Web Intermediary approach, containerized execution of web interactivity, and the ability to destroy cloud environments after each session, Kasm Workspaces ensures that users can browse the web with peace of mind. Whether it’s protecting against malware and phishing attacks, enabling secure remote access, supporting OSINT investigations, or facilitating collaborative work environments, Kasm Workspaces is at the forefront of empowering users with a safe and efficient online experience.
As mentioned above, Kasm Workspaces is a valuable tool for Open Source Intelligence (OSINT) due to its secure and anonymous browsing capabilities [1][2]. Using Kasm allows users to enjoy superior privacy compared to VPNs, TOR, and Incognito mode [1]. Kasm operates on a Zero-Trust Web Intermediary model, where all web interactivity occurs in anonymous public cloud docker containers [2]. This means that only the user interface is sent to the browser, and the cloud environment is destroyed after each session, ensuring privacy anonymity, and preventing traceability [2]. These features make Kasm an excellent choice for conducting OSINT research, as it ensures protection from attribution and cyber threats [2].
References: [1] Open-Source Intelligence [2] Kasm OSINT and Research [3] Kasm Workspaces | The Container Streaming Platform
I wanna say a few words at this point to clarify some of this; when we talk about anonymity here, it obviously does not mean you should use this for criminal activity; logic applies: those public cloud providers do have your information and will corporate with law enforcement when or if needed. What we are saying here is running KASM on a public Cloud Platform will make it easier for you to avoid attribution; it also makes it easy to move around your KASM setup to any region in which you want to use it for your investigation.
Another perspective is that, unlike the usual VPN or TOR approach, it protects against various other methods of tracking users that are not reliant on where the user is on the internet. “Anti-tracking” services, such as a browser's incognito mode, provide some layer of protection against tracking; however, recent advances in system/behavior fingerprinting render these protections obsolete. Boot from USB solutions such as TAILS and using a VM such as CSI Linux are other ways, and each of those solutions has their own specific use cases, but the simple and easy-to-set-up containerized approach of KASM still makes it one of my all-time favorites.
How secure is KASM
KASM containers can provide a high level of security for applications and data. They use kernel-level security mechanisms, including Linux namespaces and cgroups, to isolate the containers from each other and the host system. This ensures that processes running inside containers cannot access resources or interfere with other containers or the host system. Aside from that, KASM containers can leverage other security features like SELinux, AppArmor, and seccomp to enhance security further. However, it’s very important to note that no security measure is foolproof, and proper security practices, regular updates, and monitoring are still necessary to mitigate potential risks. It is also very important to follow good opsec practices; a tool alone can never achieve full security, privacy, or anonymity.
Some additional resources on this topic can be found here:
References: Security — Kasm 1.14.0 documentation
Getting Started with Kasm Workspaces
Getting started is quick and easy whether you’re new to Kasm Workspaces or looking to upgrade. You can install or upgrade the platform on your own server, on any of the public cloud platforms, or for a hassle-free experience, try out the all-in-one Kasm container offered by linxserver.io. This container provides a comprehensive Kasm Workspaces setup perfect for testing and exploration.
For this tutorial, we will have the following setup.
- An Ubuntu 22.04 VM on Linode with 4GB of RAM and 80 GB of Disk Space
- KASM 1.14.0
KASM can be installed on many different Operating System Falvors; the official documentation has a list of them all

Create your Server
My provider of choice is usually Linode, now part of Akamai, but this will work similarly on any of the usual cloud provider platforms, like Azure, AWS, OracleCloud, and so on.
After logging in to Linode, you arrive at a screen similar to this one. Note that this is my demo instance, so there isn't much on here to see:

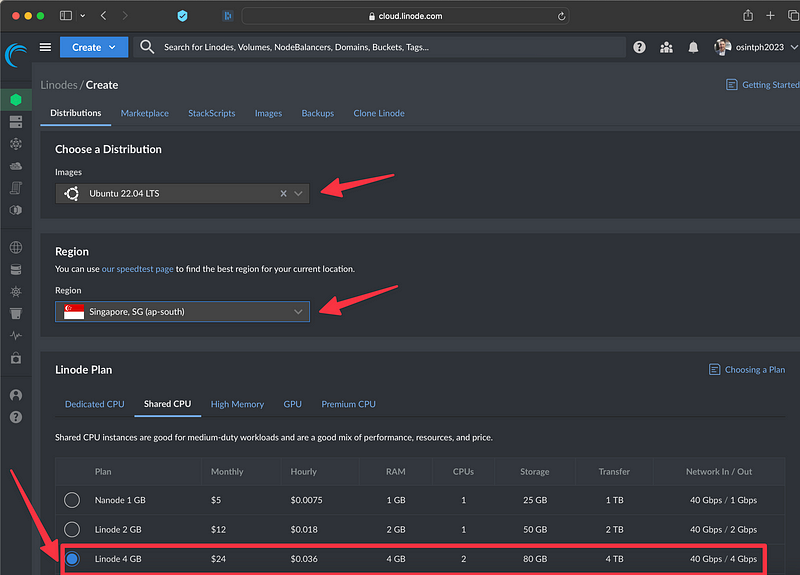
First, we will create the VM we need for our KASM setup; we will click “Create Linode” and choose a shared CPU instance with 4GB of RAM and 80GB of disk. you will notice I chose Ubuntu 22.04 LTS, and I picked Singapore as the location, which would be the closest to me.
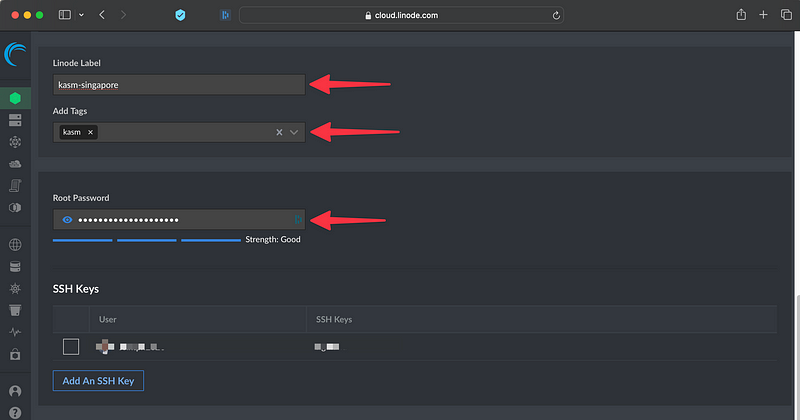
We can now give it a label and tags if we want to, also, we will choose a root password. Note: I strongly recommend the usual best practices, no root login and the use of SSH keys, for the demo setup I will violate my best practices
You can leave the rest as is, and just click “Create Linode”
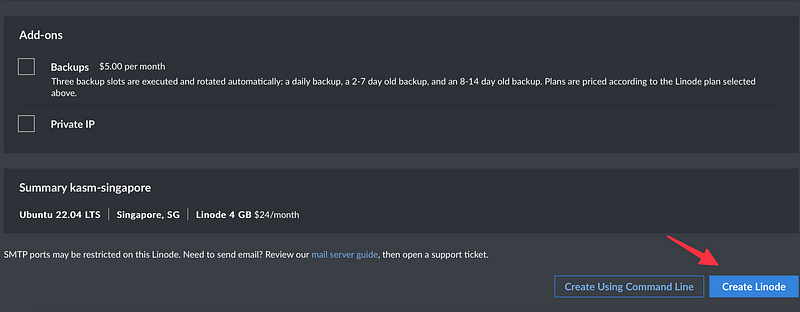
This will now create the VM, its usually done within a minute or so. I am not hiding the IP here as I will delete this instance after documenting the process.
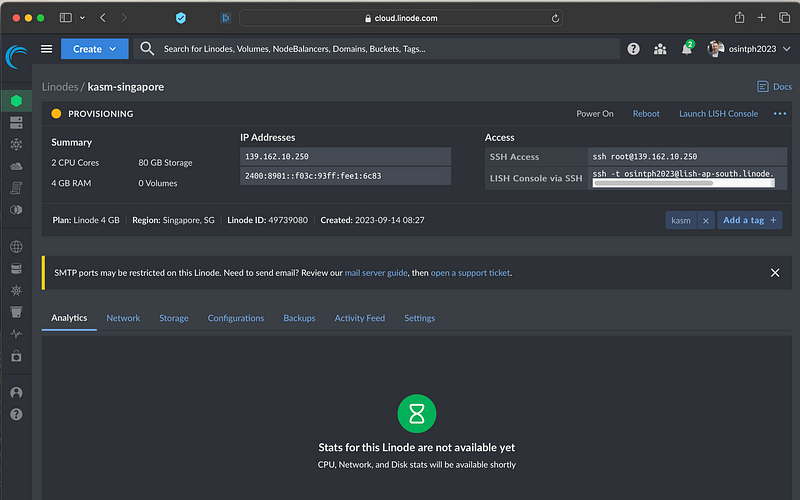
Once the creation is complete, we can copy the command here to connect to the VM

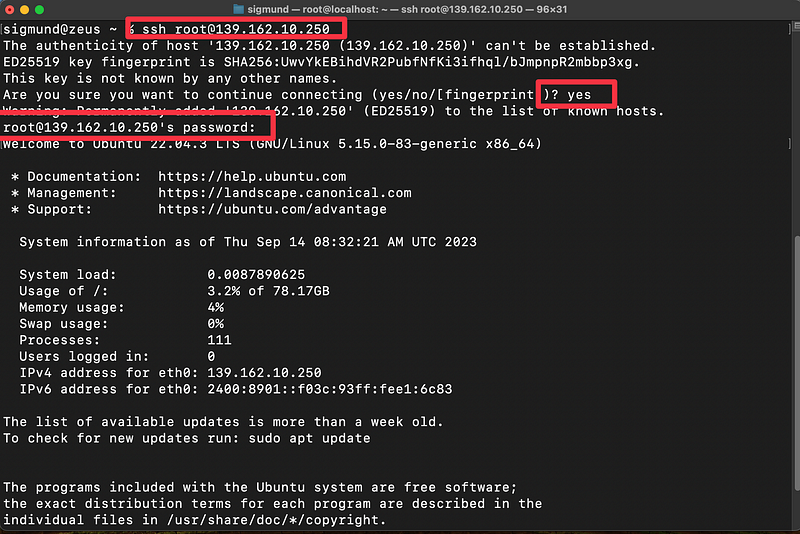
You can paste this in a Mac or Linux Terminal, or can use Powershell or a CMD prompt on Windows 10/11
We confirm with yes when asked to confirm the fingerprint, and then enter the root password we chose earlier, and with that, we are logged in:
Now it is time to get the installation package; for this, we first run the following 3 commands
cd /tmp
curl -O https://kasm-static-content.s3.amazonaws.com/kasm_release_1.14.0.7f3582.tar.gz
tar -xf kasm_release_1.14.0.7f3582.tar.gz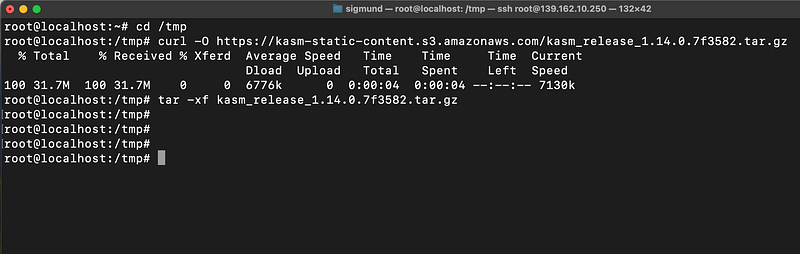
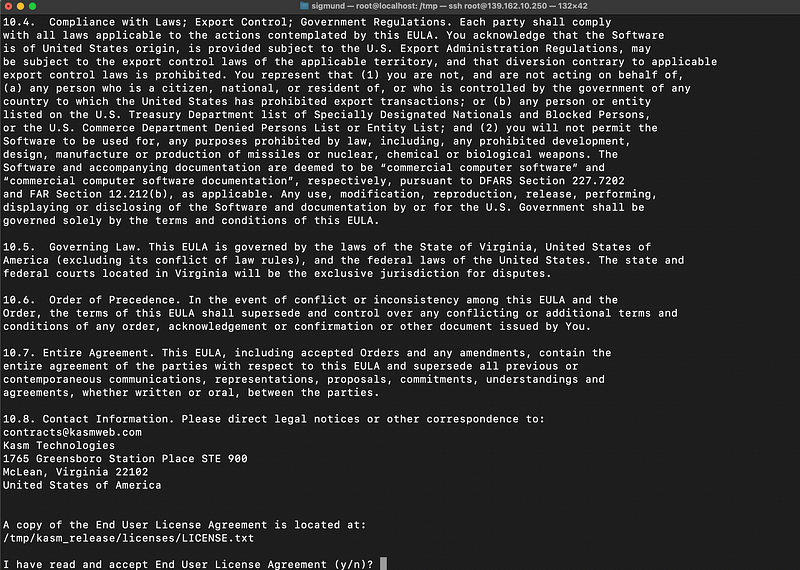
Now we are ready to run the installation script, and we do so with this command:
sudo bash kasm_release/install.shNOTE: You do not need to use sudo if you are already root/.
You will be prompted to accept the EULA.
This now may take some time; it will download the needed images and additional packages and execute the installation script:
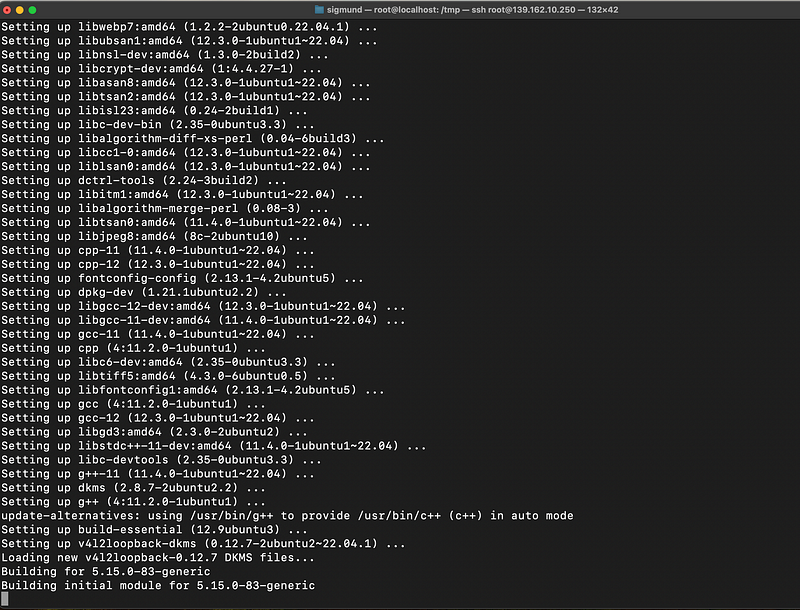
Get a coffee and let it run; eventually, it will start up the containers needed, and at the end of the installation process, you will see the following prompt. I am not hiding any details here; I will delete this machine before publishing. :)
This will give you all the details you need for initial login and further configuration; make sure you make a record of this information.
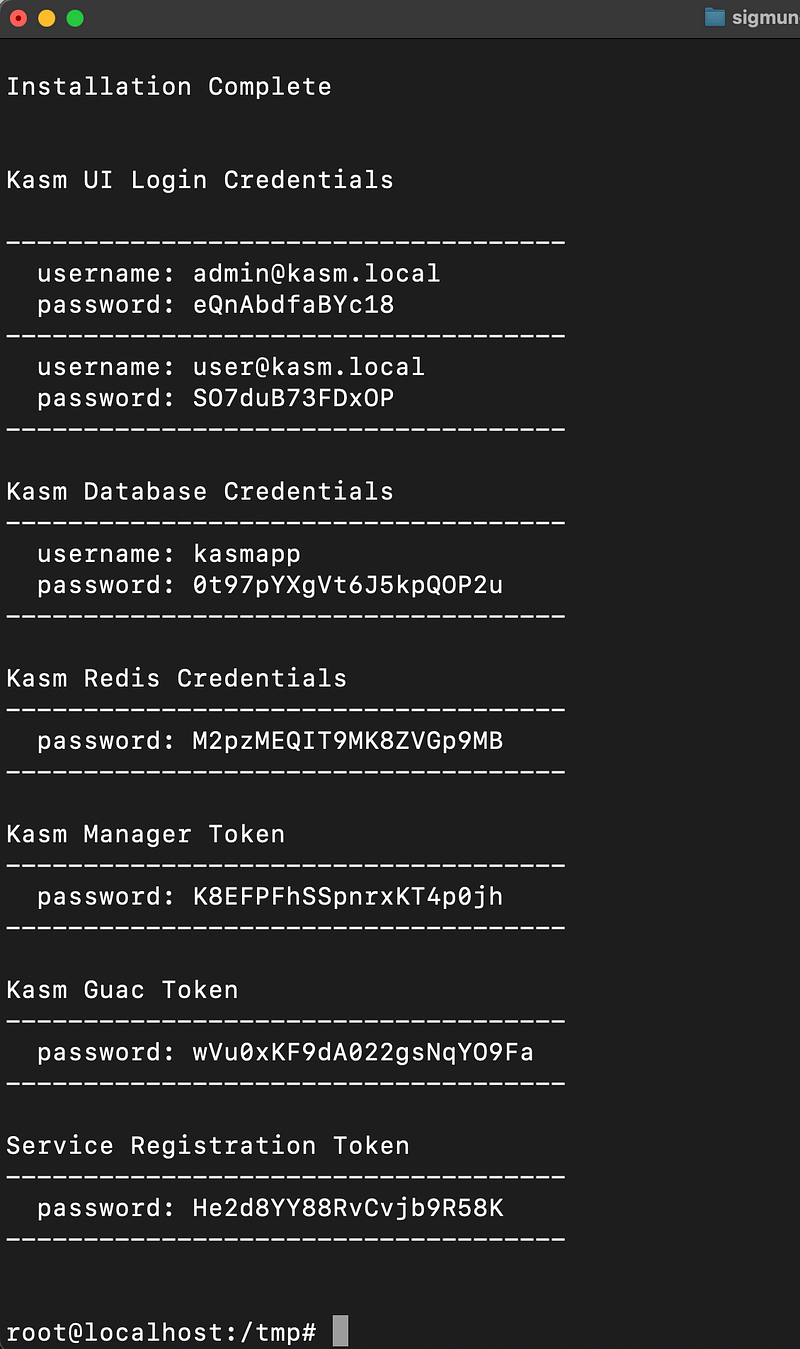
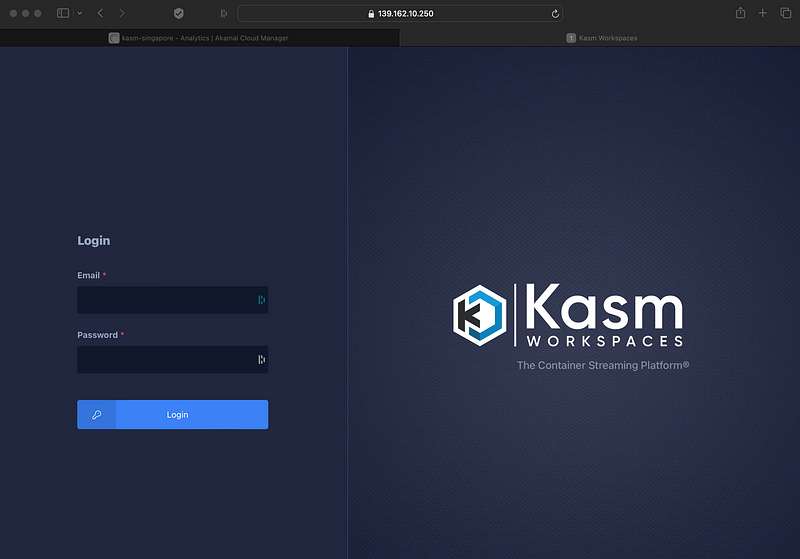
Next: Log into the Web Application running on port 443 at https://<WEBAPP_SERVER> (you can use the IP address for now later, you can configure a full domain name).
The Default usernames are [email protected] and [email protected]. The passwords will be randomly generated and presented at the end of the installation unless the --admin-password or/and --user-password are specified.
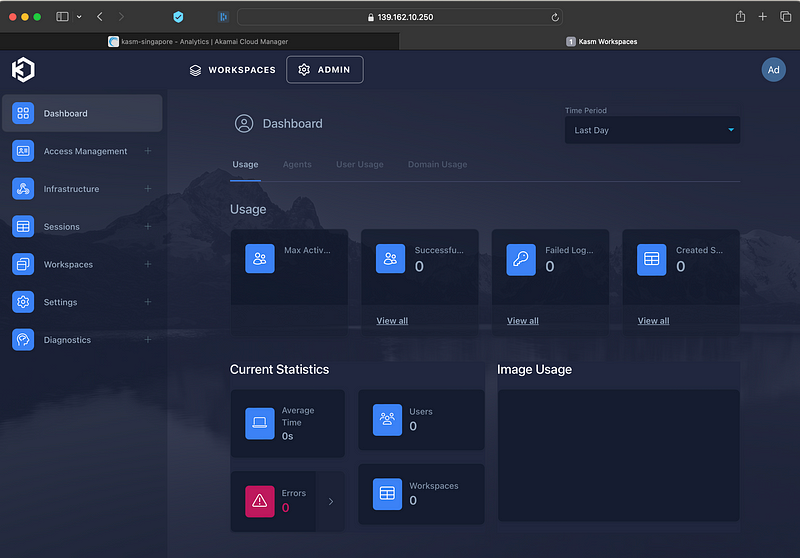
You will get a security warning in your browser as it is a self-signed certificate at this point; we can fix that later with a proper cert.
logged in as admin
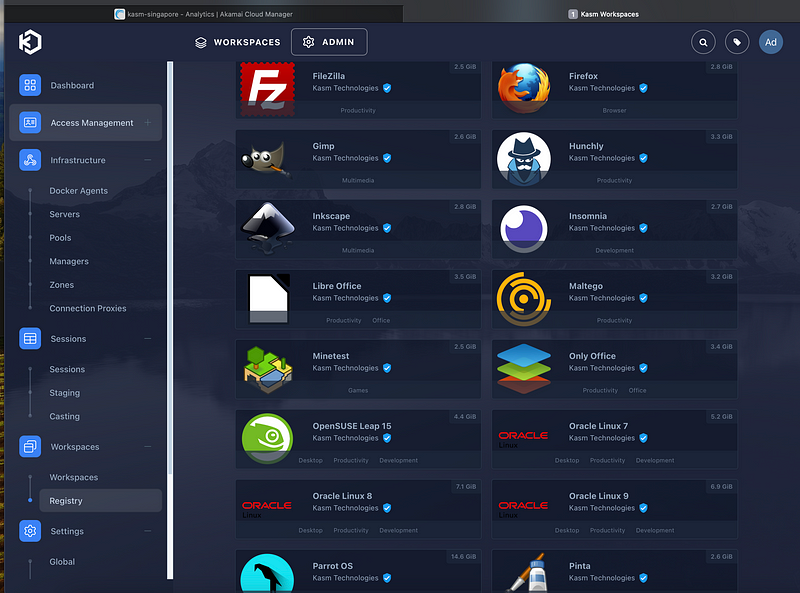
Still as admin, we will now just download some of the default images; you can find them on the left side under Workspaces and then Registry.
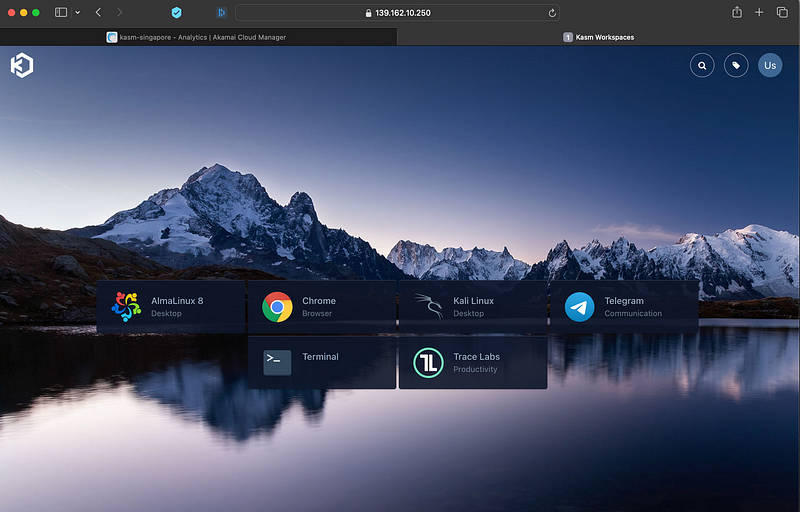
That is it; that is the basic install. We can now bring up certain apps or even an entire VM, for example, Kali Linux, all now accessible via the browser to you. To demonstrate that, let us log in as the user [email protected] (again, the password was given after the installation needed)
You will be greeted (depending on what images you triggered the install for) with something like this.
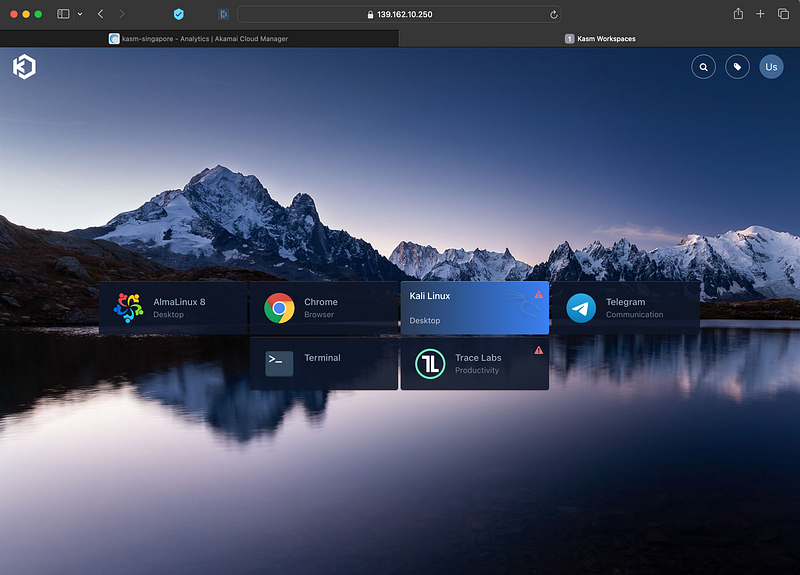
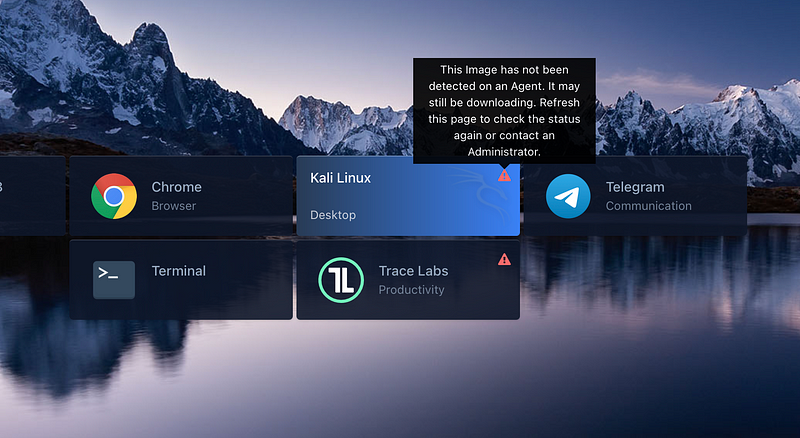
You may notice warning icons on some; this just means that it is still downloading in the background, and larger images may take some time.
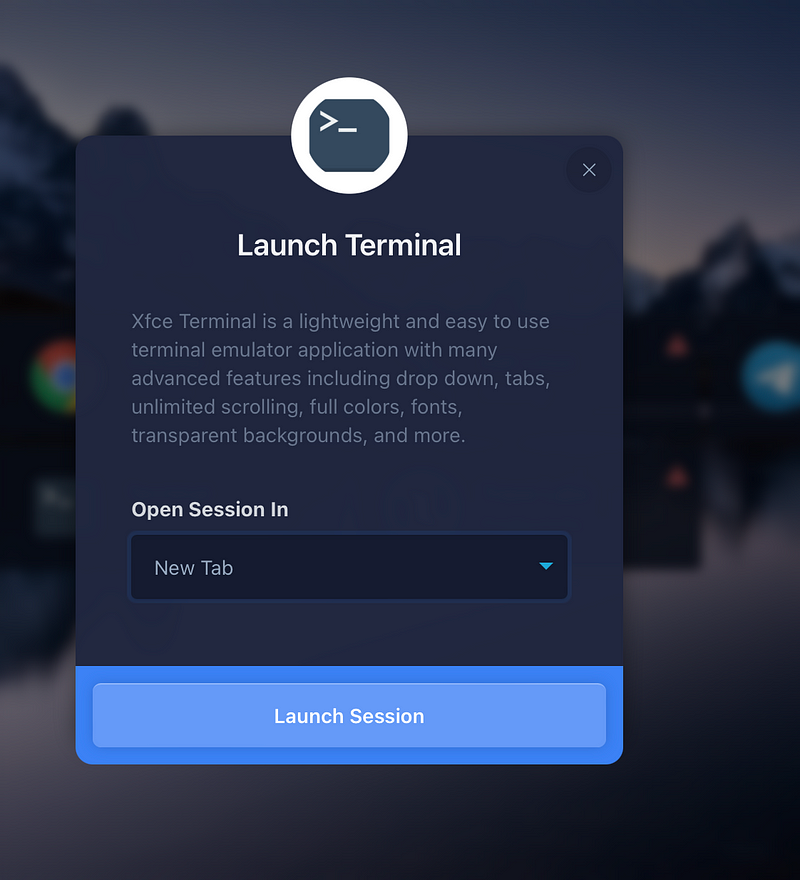
We can try to launch a terminal app, for example, in a new tab.
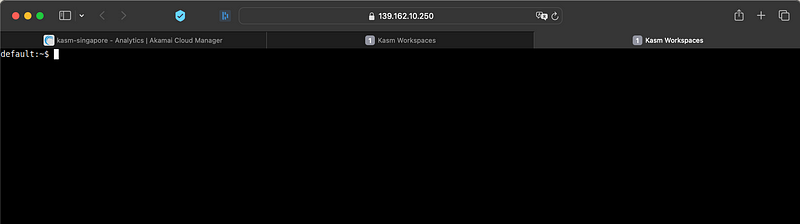
You will get a terminal within a new browser tab.
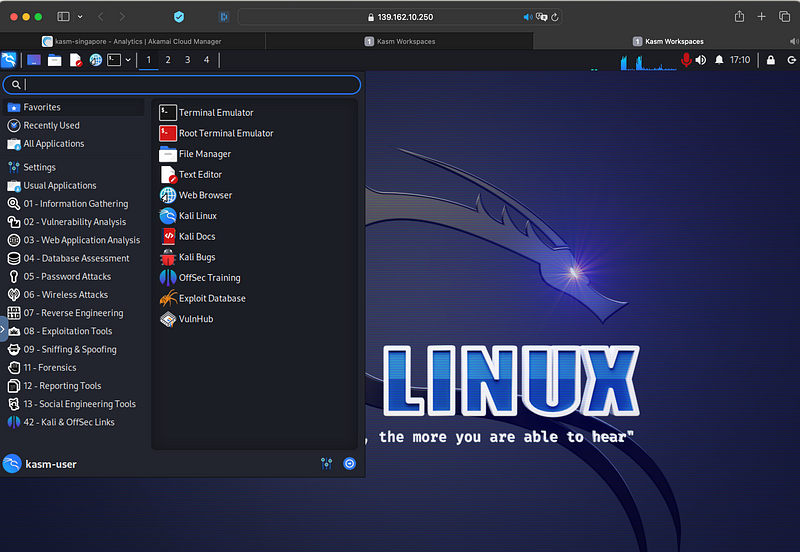
Going back, we see that all images are available now, let's try and start a KALI image.
And there we are with a full Kali in a browser window.
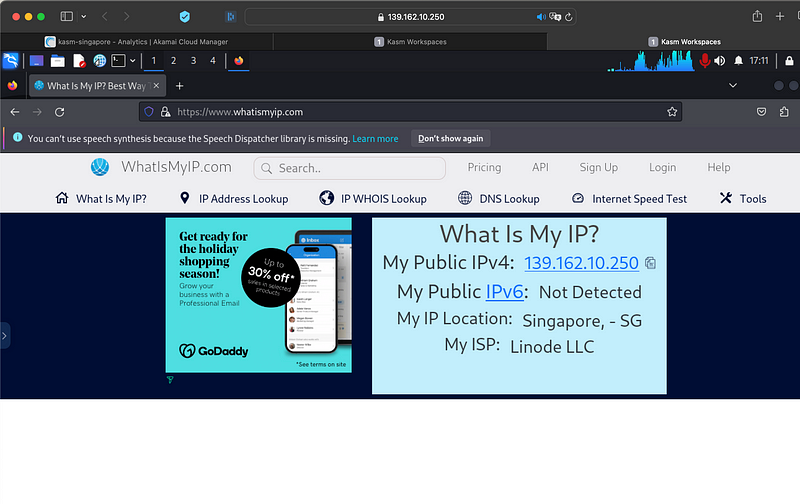
You will notice the IP you have from Kali will be the Public IP of your KASM setup; since you can move this setup around between different cloud provider regions, this can come in really handy.
You can now replace the certificates with your own custom certs; follow the well-documented procedure here.
I hope this guide is useful and explains a little why using KASM can be really beneficial to OSINT practitioners.
Due to lack of time, don’t miss out on any helpful info about the OSINT community. Read our free weekly newsletter and stay informed about the OSINT community for free. Join the free newsletter at osintupdates.com right now.
Stop wasting time reading the same content about OSINT again and again. Read high-quality, non-repeated OSINT blogs for free at osintblogs.com! Don’t forget to subscribe so you don’t miss out on new blogs.