Use Cloudflare Tunnel to securely expose your home/lab network to the internet.
Cloudflare Tunnel is a service provided by Cloudflare that allows users to securely connect to their internal resources, such as servers…
Cloudflare Tunnel is a service provided by Cloudflare that allows users to securely connect to their internal resources, such as servers and databases, from anywhere in the world.
What is Cloudflare Tunnel
Cloudflare Tunnel is a service provided by Cloudflare that allows users to securely connect to their internal resources, such as servers and databases, from anywhere in the world. It uses the Cloudflare network to create a secure and encrypted tunnel between the user’s device and the internal resource. This allows users to access their internal resources without needing a VPN or other complex network configurations. Additionally, Cloudflare Tunnel can also be used to protect internal resources from DDoS attacks and different types of malicious traffic.
You can use this to make resources within your Home Lab publicly accessible, and for this tutorial, I will demonstrate that with the Admin Web interface of ProxMox.
What do I need?
- A free Cloudflare Account
- A domain (actually, that is optional, but I will show how to configure this)
- Any Server or application that you want to make publicly accessible, today I will show how to make the ProxMox Admin Web interface accessible.
- Internet Access (obviously)
Let’s get Started
If you do not already have a free Cloudflare account, follow these steps to create one.
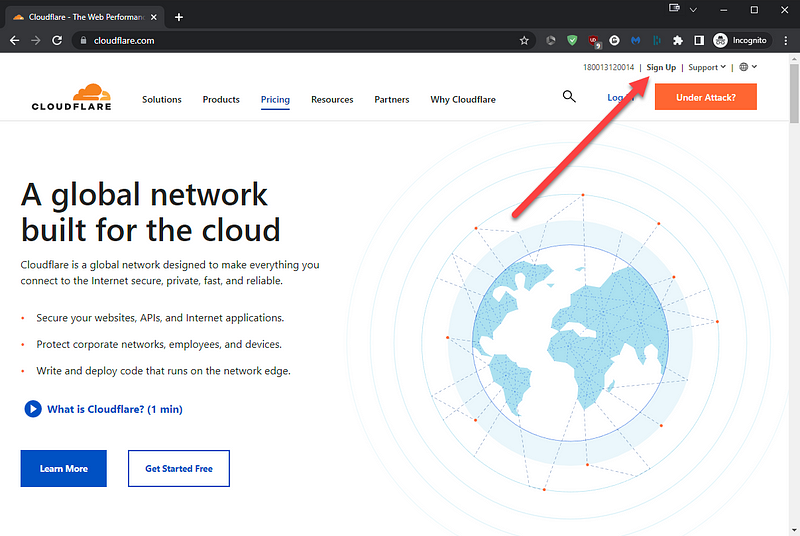
Navigate to https://www.cloudflare.com and choose the Sign-Up Option
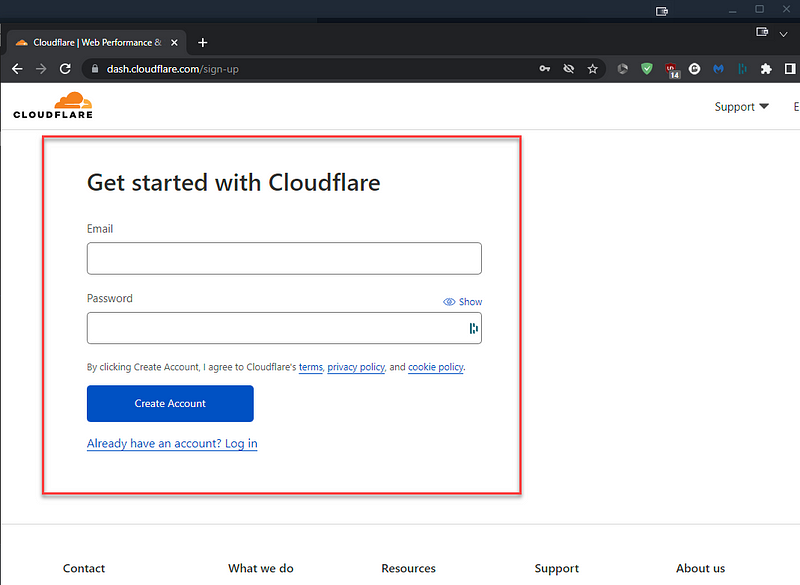
Just provide the needed information and create your account, you will be automatically logged in
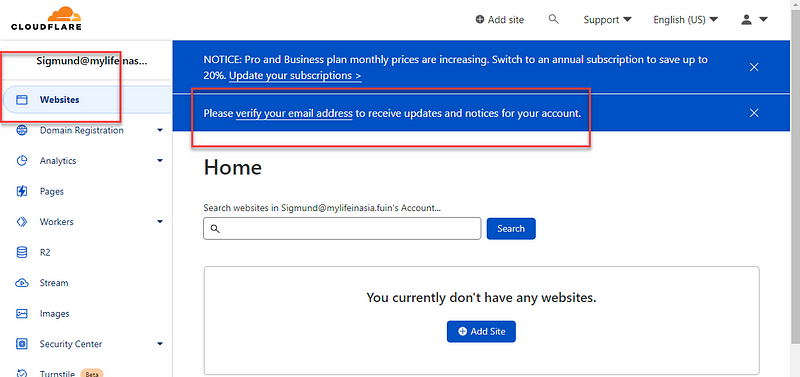
On the login page, you can navigate to “Websites” — this is where we will first add our domain. You should also verify your email address:
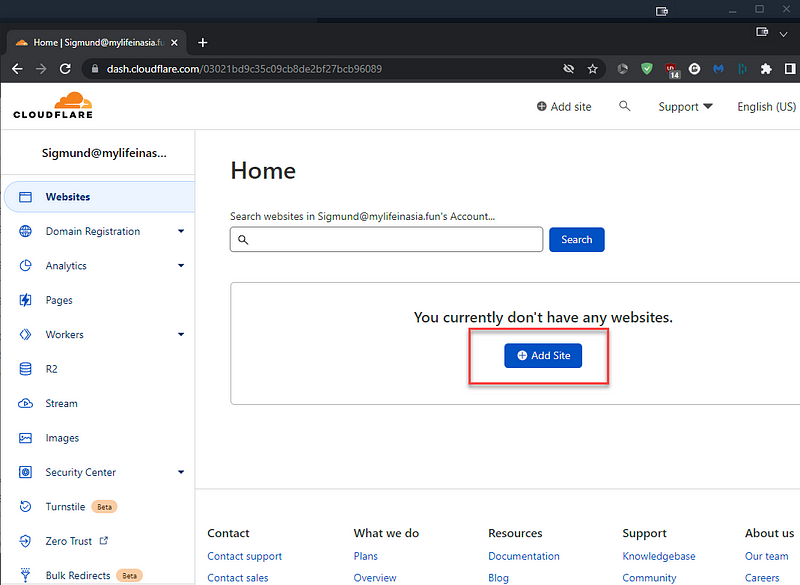
After you have verified your email address, we can now go ahead and add the domain we will use, click “Add Site”
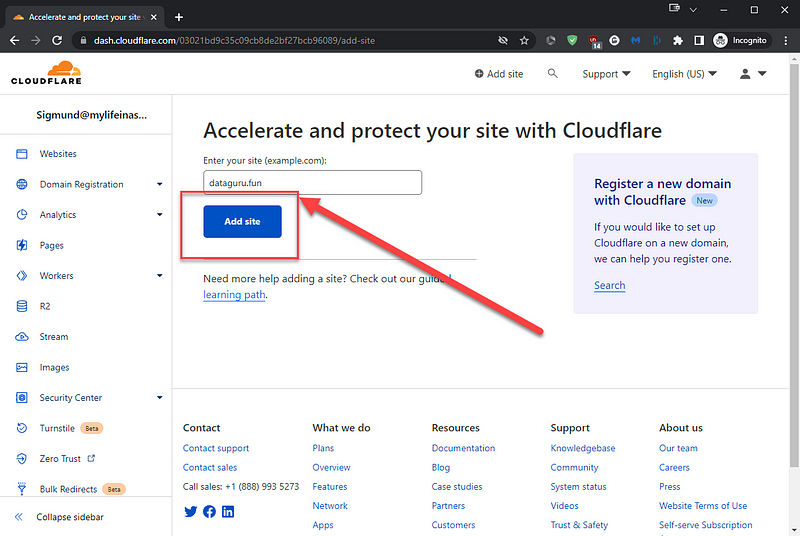
We enter the domain we want to use, and then click “Add site”
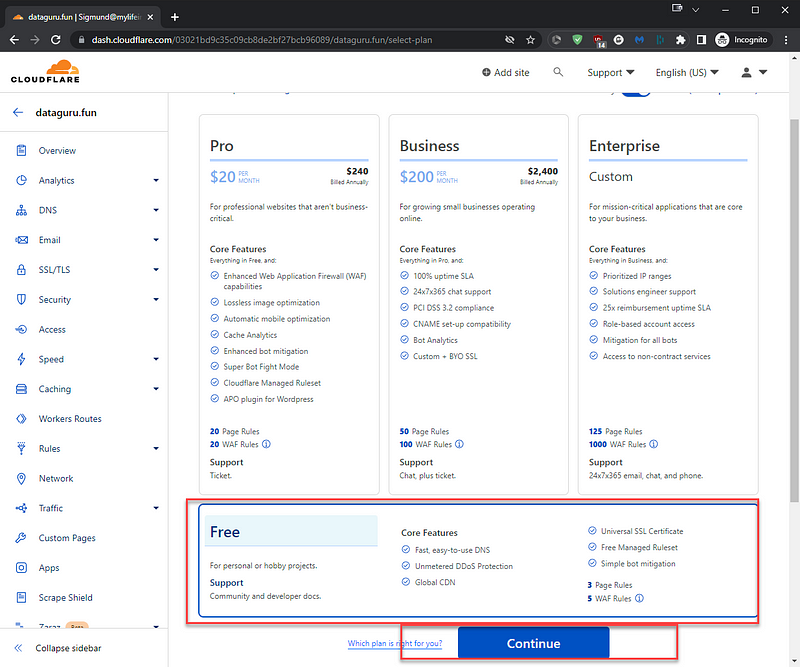
As we want this to be free for now, we will choose the Free Tier in the next step, select the Free Tier, and then click continue
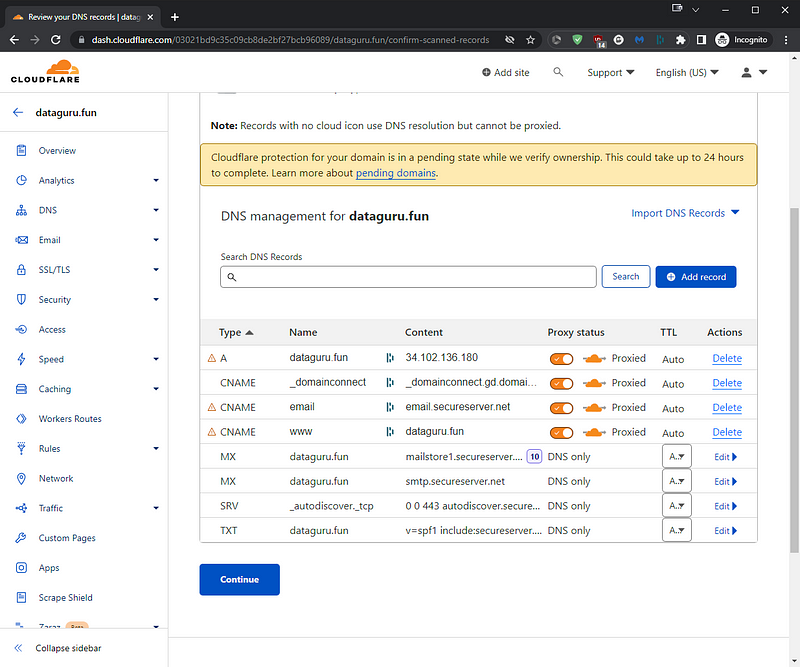
Cloudflare will retrieve all current DNS records for the domain and will ask you if you want to add any, for this demo, we go with whatever it detected.
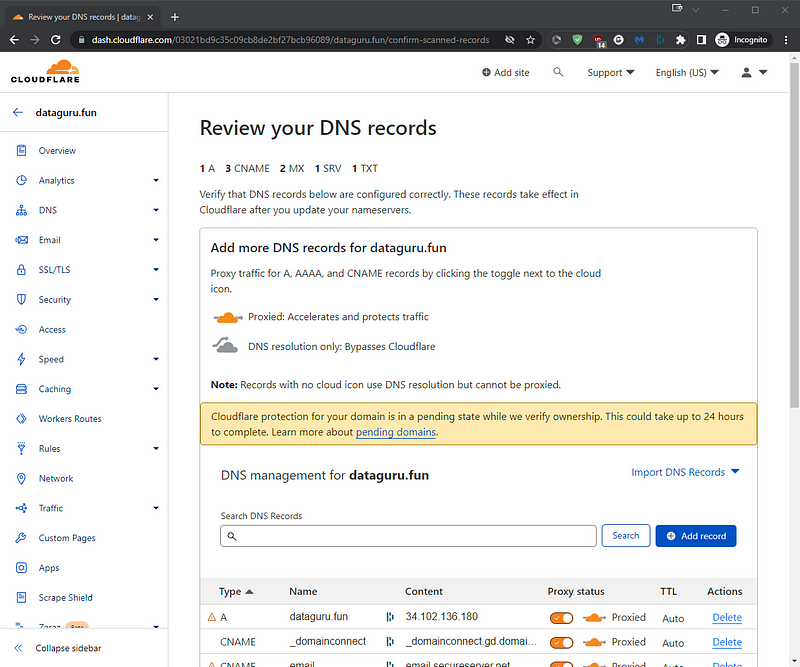
We will choose “Continue” here
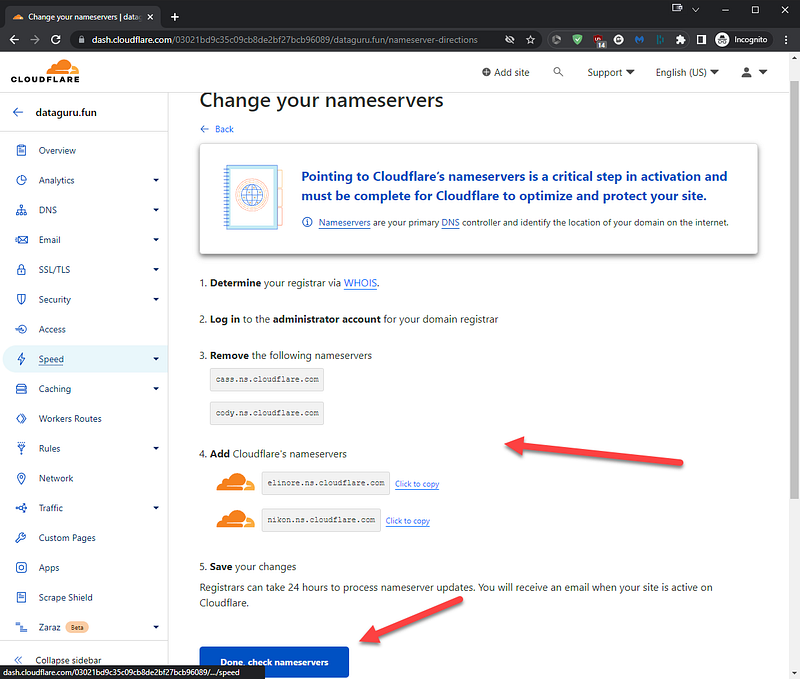
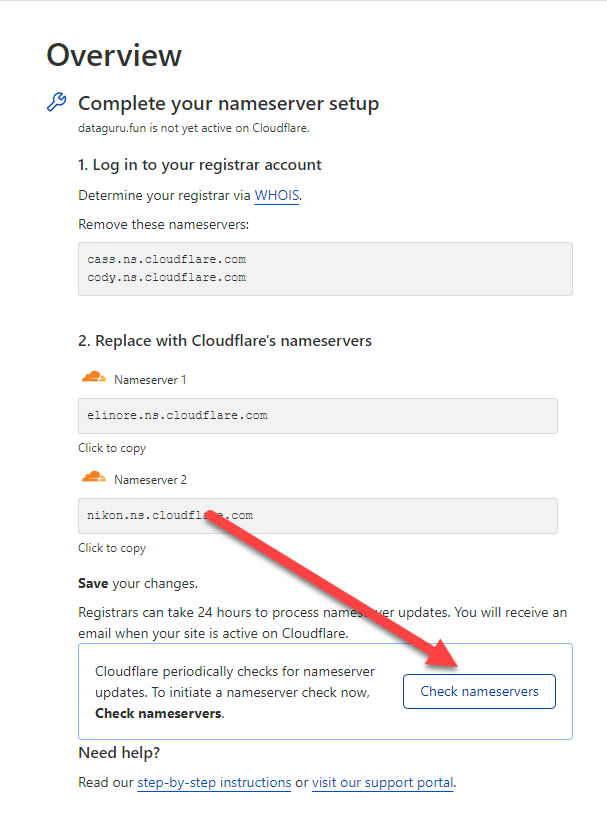
Now the next step may differ for you depending on where your domain is hosted but essentially Cloudflare will give you instructions on how to change the Nameservers for your domain to use the Cloudflare Nameservers, this is usually straightforward, and it is needed if you want to use a domain with Cloudflare.
In my case, I had this domain already on another Cloudflare tenant, but I will still need to change the DNS records for it with my registrar, this step depends on where you have hosted it.
Once you have changed the Nameservers accordingly, you can now go ahead and click “Done, check nameservers”

Just as a short example for GoDaddy, log in to your account, navigate to our products, and for the domain, you wanna use, choose “Manage”.
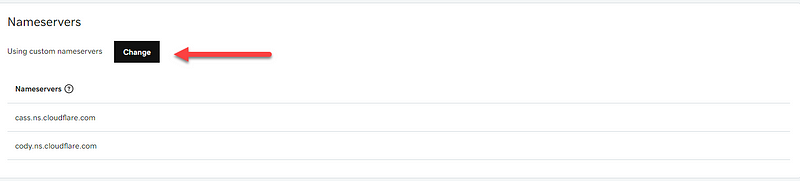
In the DNS settings, click “Change” under Nameservers
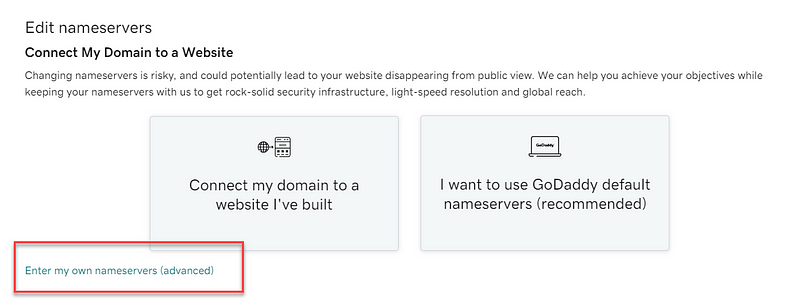
Choose “Enter my own nameservers.”
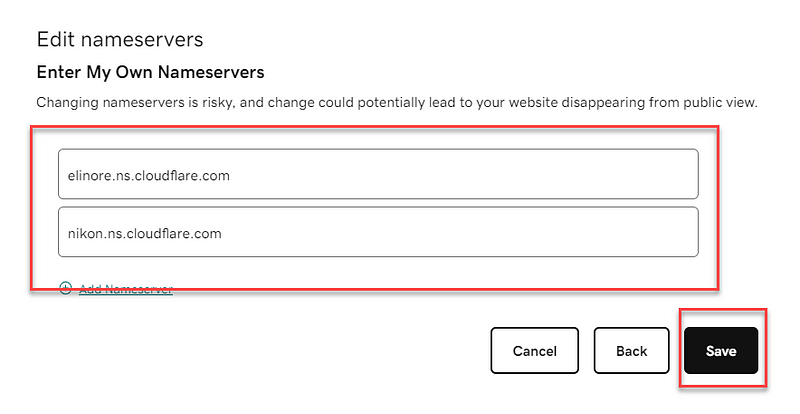
Enter the nameservers that Cloudflare listed in the earlier step, and click “Save”
Tick the Checkbox and then click “Continue”
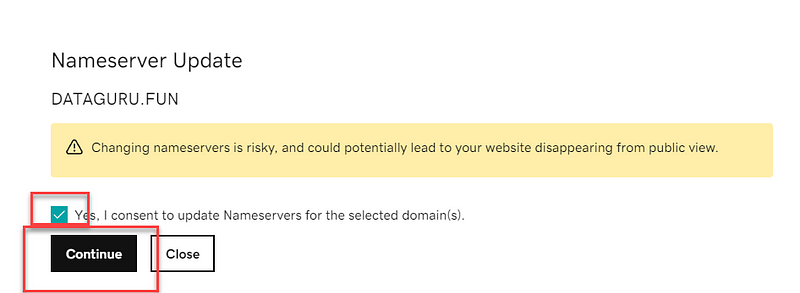
You will see this:
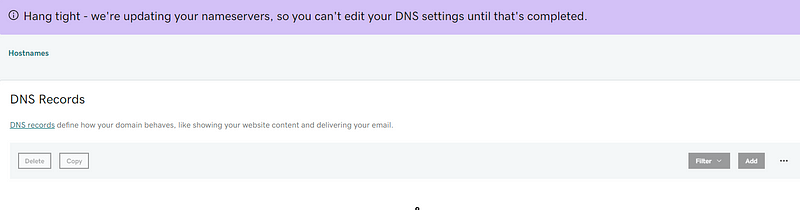
You can now go back to Cloudflare and click “Done, check nameservers”
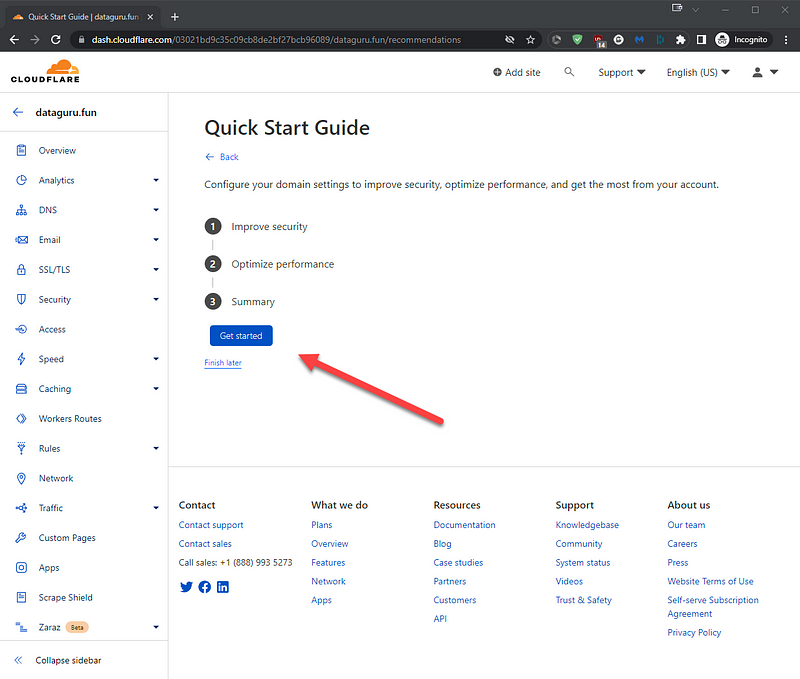
The updating of DNS can take anywhere from 15 minutes to 24 hours, usually, it’s pretty fast. You will get an email from Cloudflare once it is complete, but we still have to go through a few settings now. After you have done the last step, you will be directed to this screen:
Just choose “Get started”
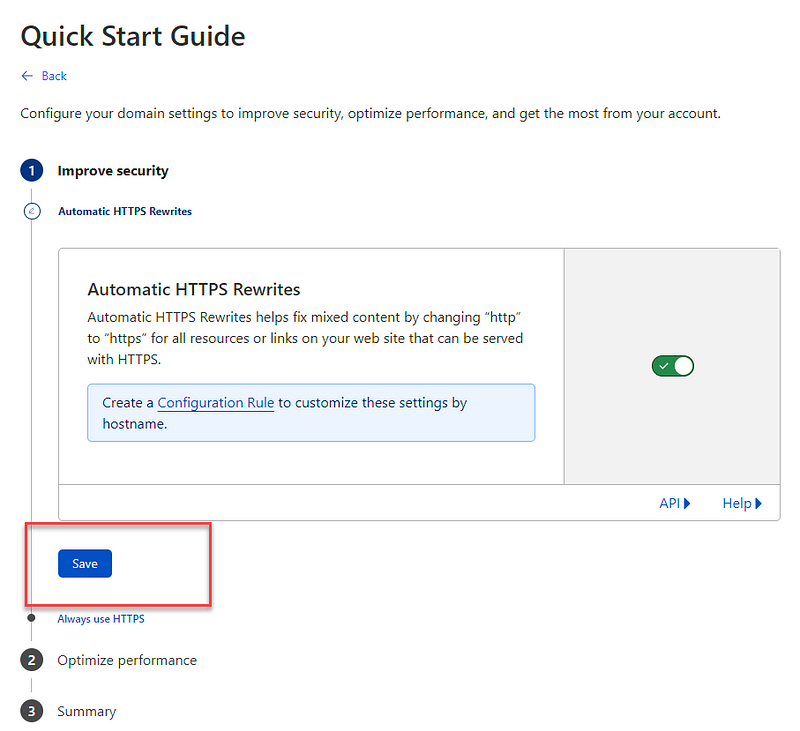
Leave the HTTPS rewrites turned on and click “Save”
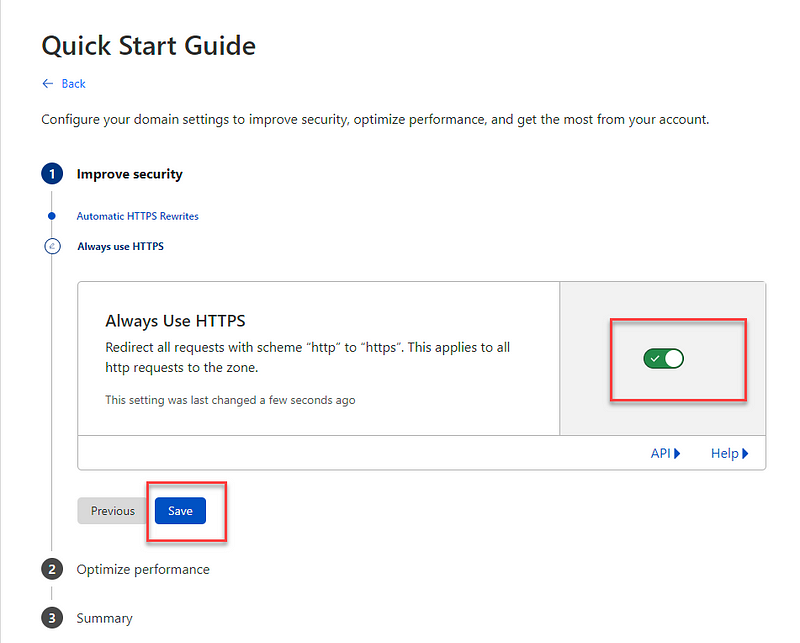
If all you need is HTTPS, which it should be, toggle on the “Always use HTTPS” switch and then click “Save”
Do not make any changes in the next setting and just click “Save”
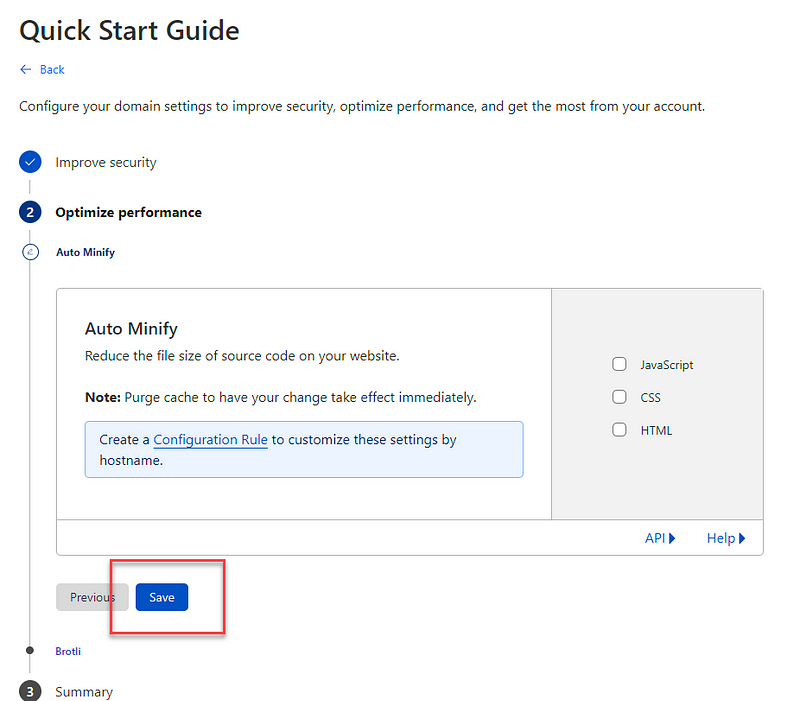
Do the same for the next setting and click “Save”

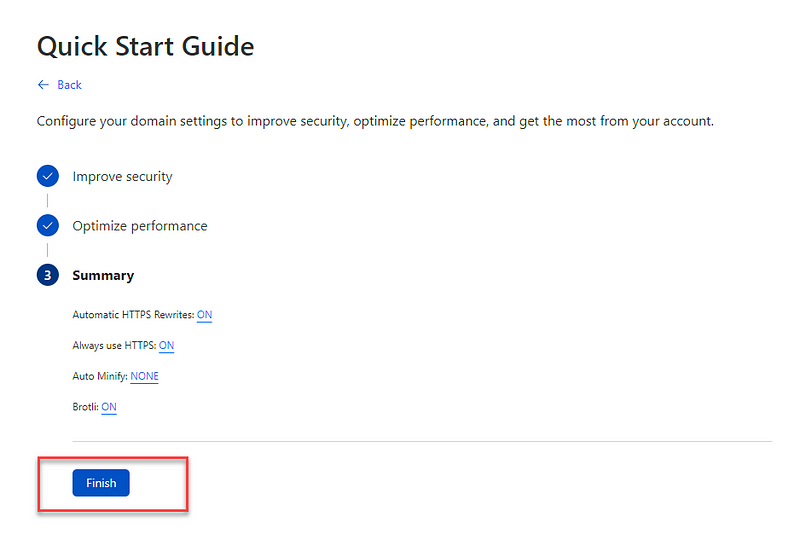
Cloudflare will present a Summary, click “Finish”
You will be redirected to this screen, click “Check nameservers”
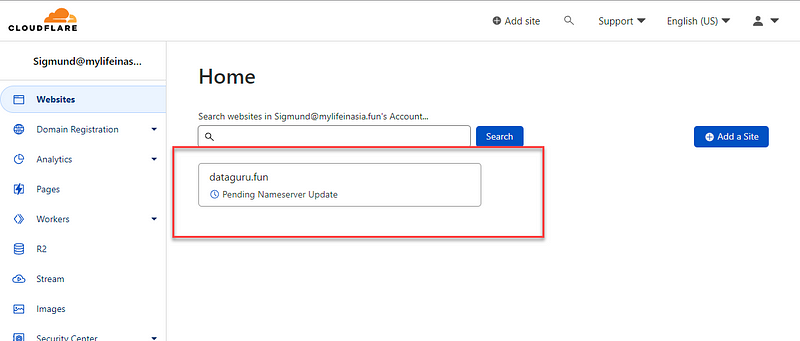
Navigate back to the Home Page and to “Websites” you will see that the Nameserver update is “pending”
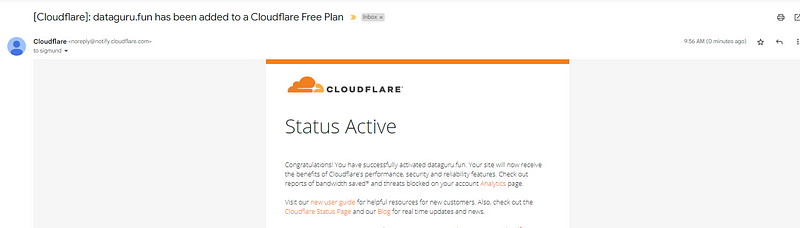
Wait for the email confirmation from Cloudflare that it is complete. The email looks something like this
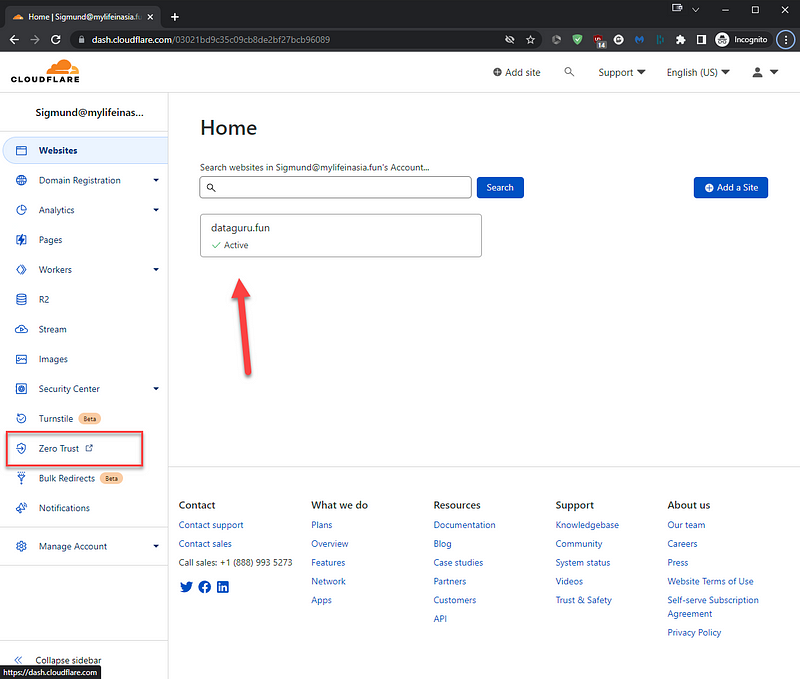
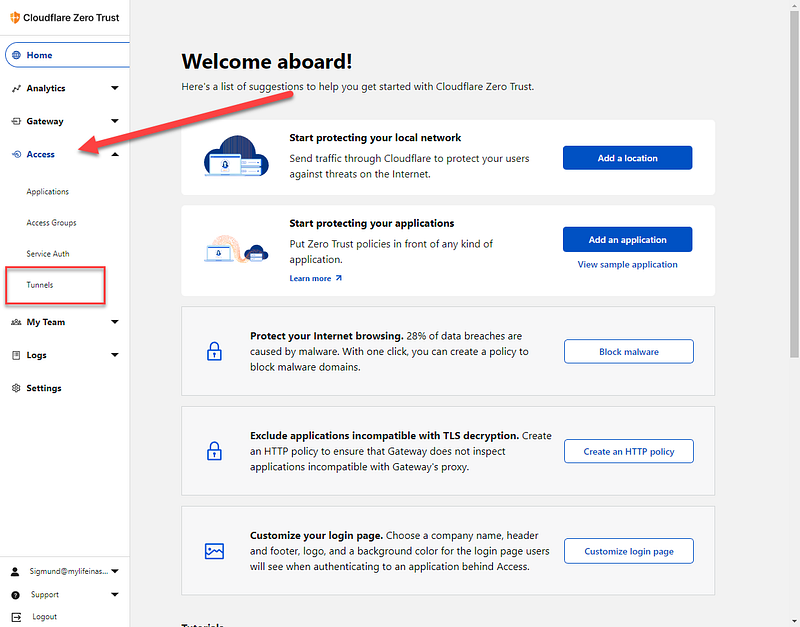
Once we verified that the Domain is now Active, we go ahead and choose “Zero Trust” on the left side pane
This will redirect you to a different Dashboard
We now expand the “Access” Menu on the left side, and from there, we click on “Tunnels”

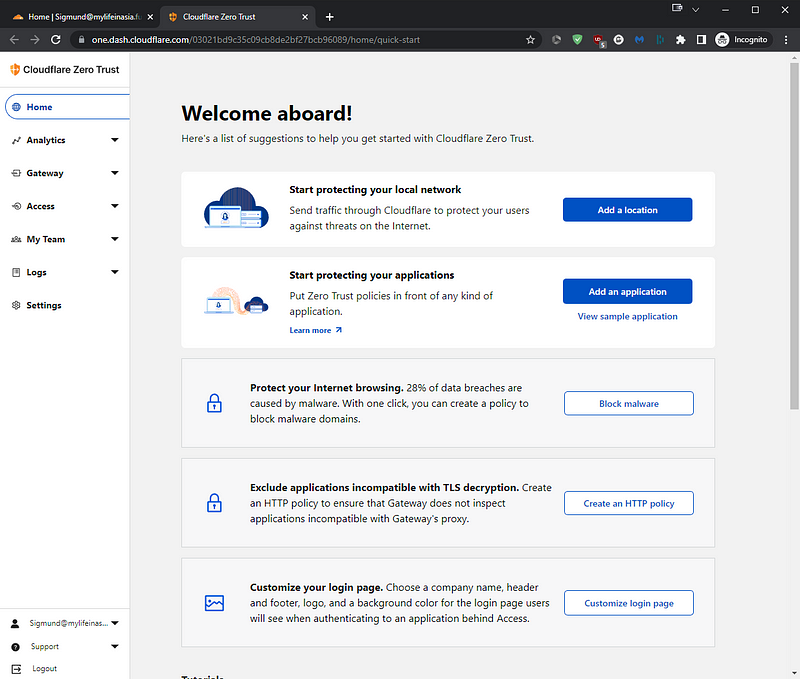
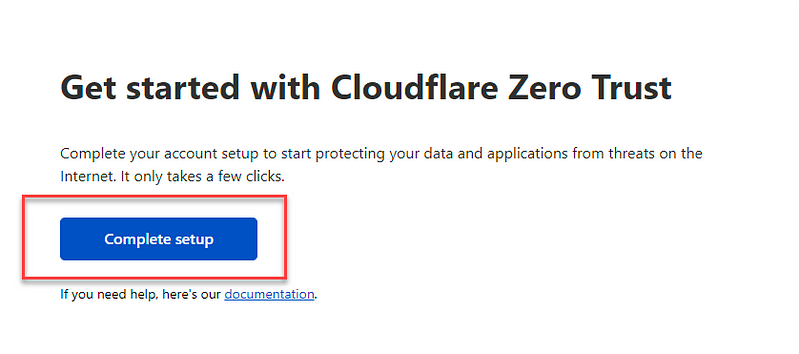
We will be greeted with this screen, we go ahead and click “Complete setup”
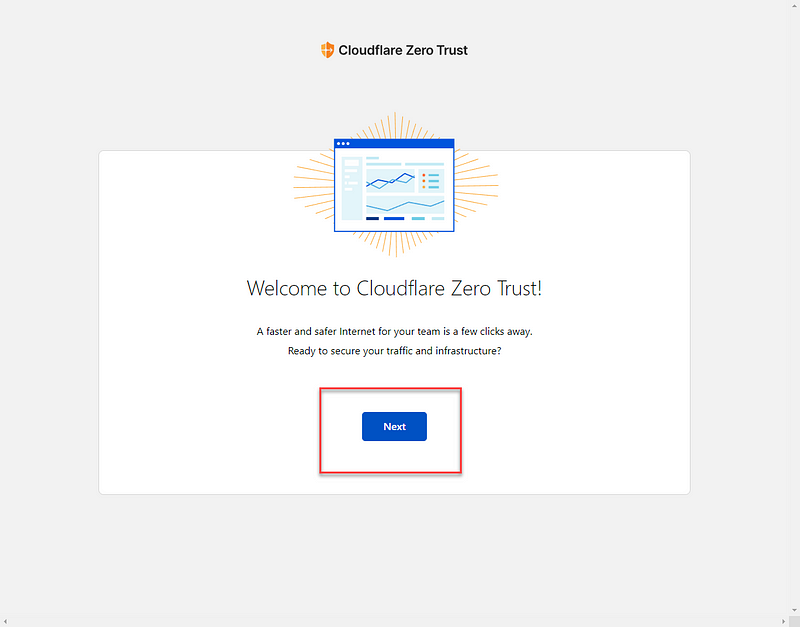
We click “Next” here
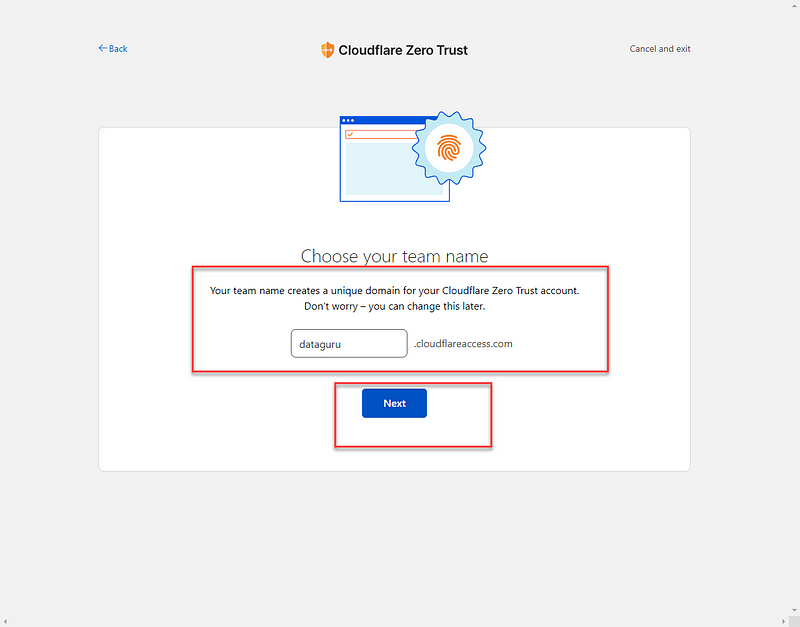
Now, this part is relevant even more if you do not have your own domain, you can now choose the unique domain for your account. Choose a name, then click “Next”:
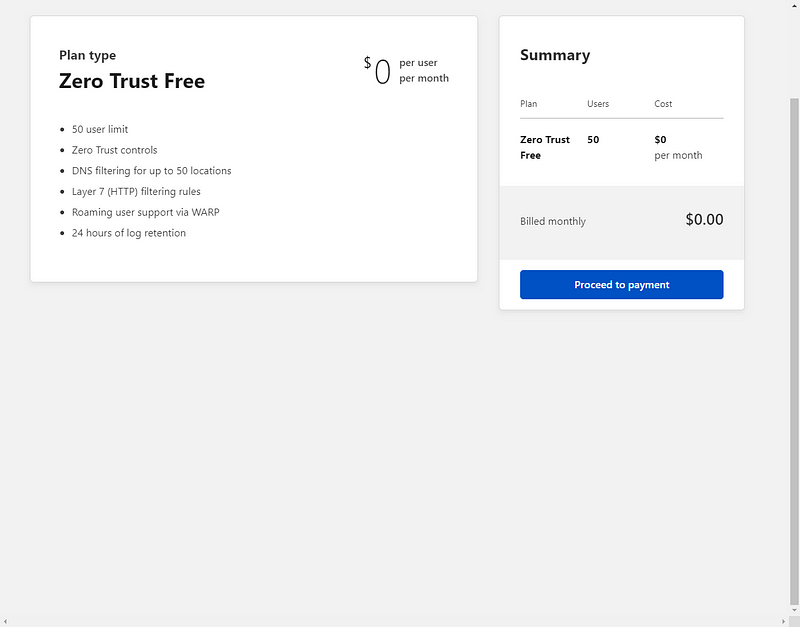
Again choose the Free Bundle here:
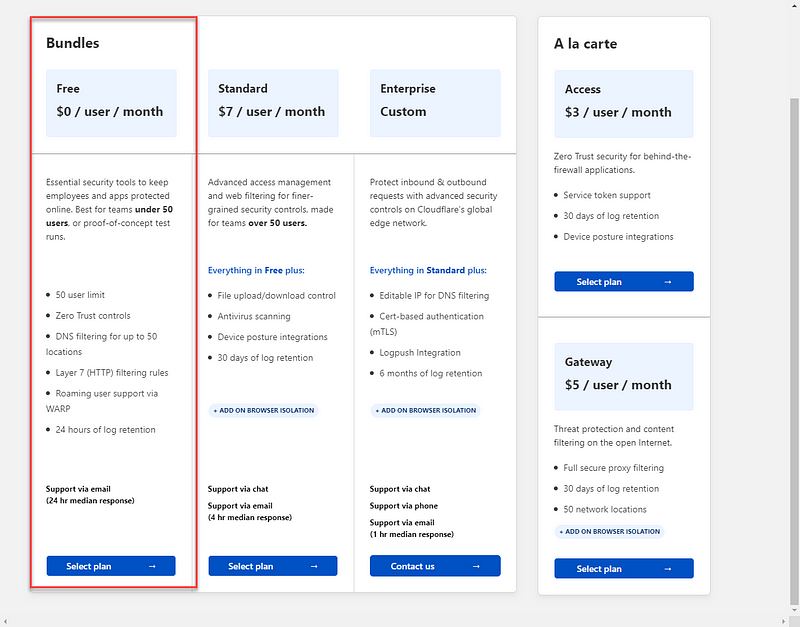
The next few steps are to set up a payment method, however, the card (Credit or Debit) or your PayPal account that you use will not be charged.
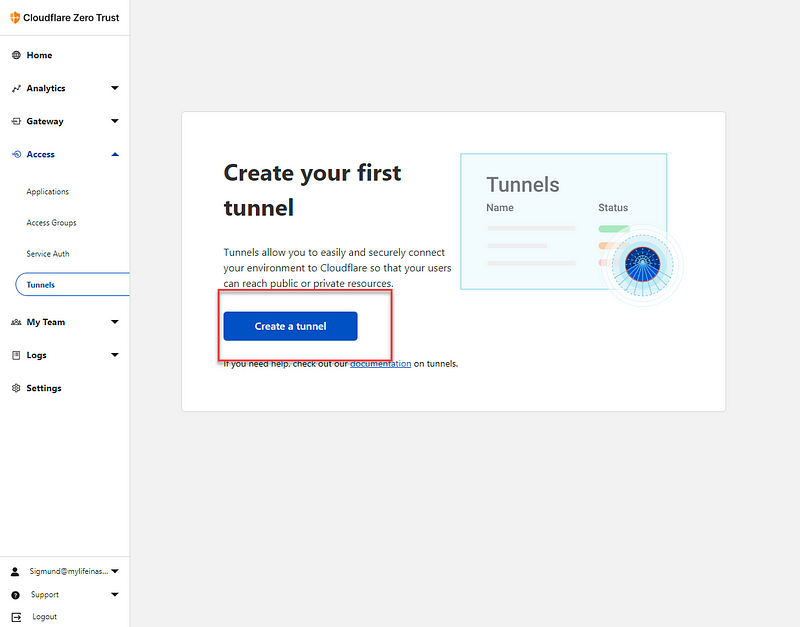
Once you have gone through the setup of a payment method, you will be once again redirected here and now you can proceed by choosing “Tunnels” on the left side.
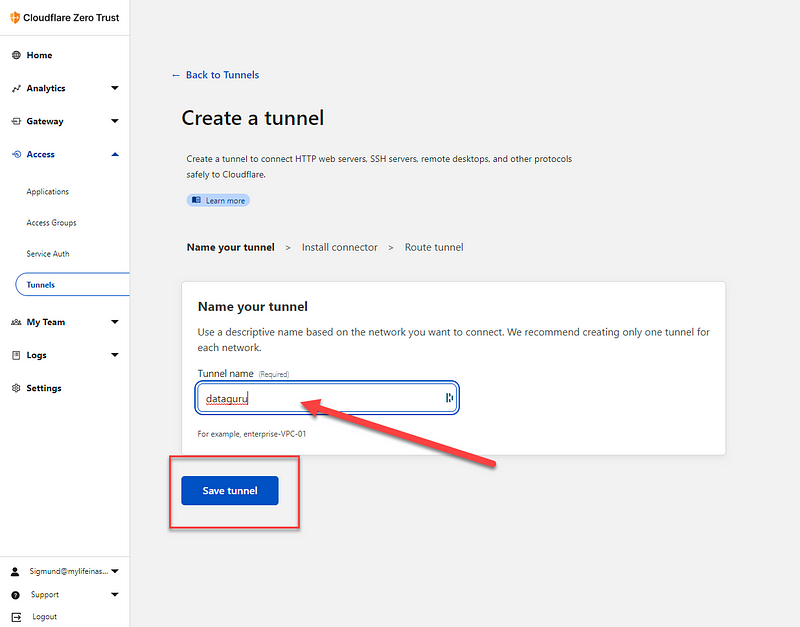
Click “Create a tunnel”
Give your Tunnel a name and click “Save tunnel”
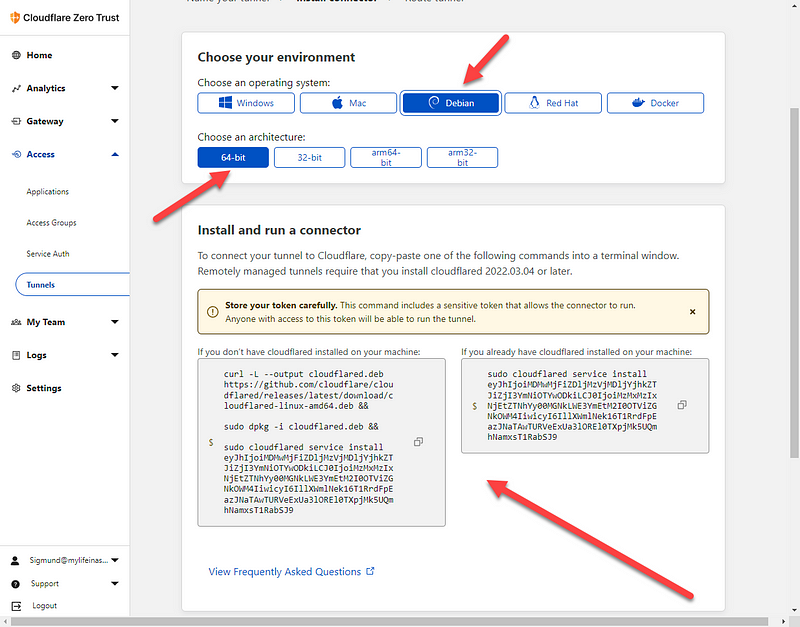
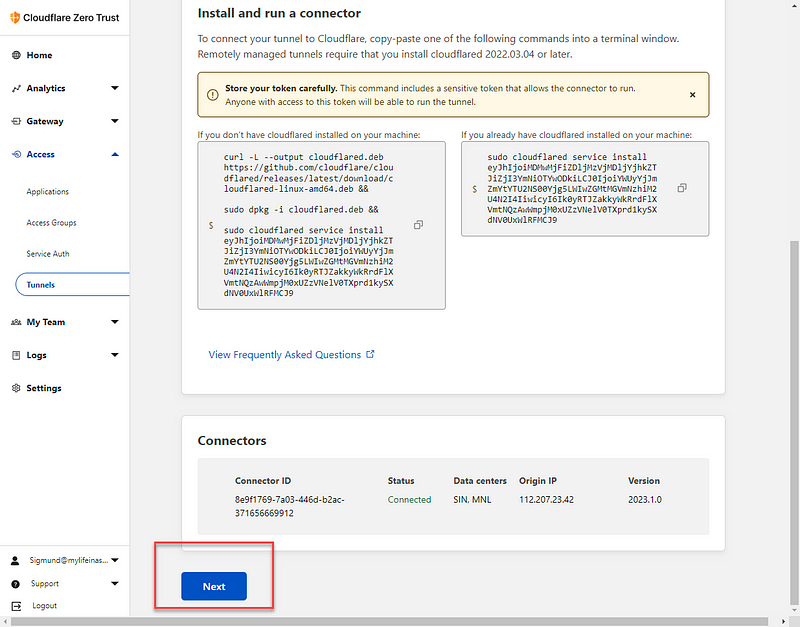
In the next step, you will see the different installation packages and methods for the various Operating Systems. We will choose Debian Based for ours. Note that you will now see the installation token, that is okay for this demo as I will delete this tunnel and setup after creating this documentation, however, in a real word scenario, NEVER expose this token!
Note there are 2 options, one if you already have cloudflared installed, and one if you do not have it, for this demo, I will choose the option where I do not have it installed on the target system yet.
Next, log in to the system where you want to set up the tunnel, in my case, this will be a demo instance of ProxMox, if you want to know more about ProxMox visit their website: https://proxmox.com/

The next step is to copy the command from the previous step above, note that I will remove the sudo commands from the entire command since, for this demo, I am logged in as root. If you are not root, you can just copy and paste the command as it appears in Cloudflare
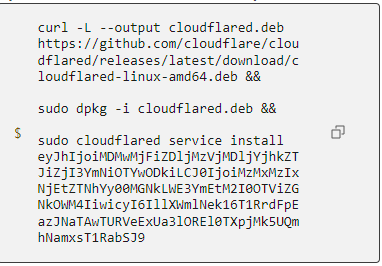
We hit enter after this to start the download and configuration:
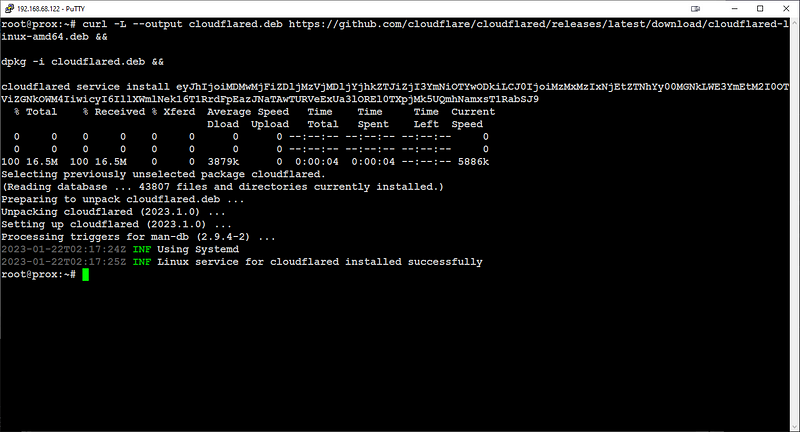
If successful, the output will look somewhat like this
now going back to the Cloudflare dashboard, we can continue the configuration by clicking “Next”
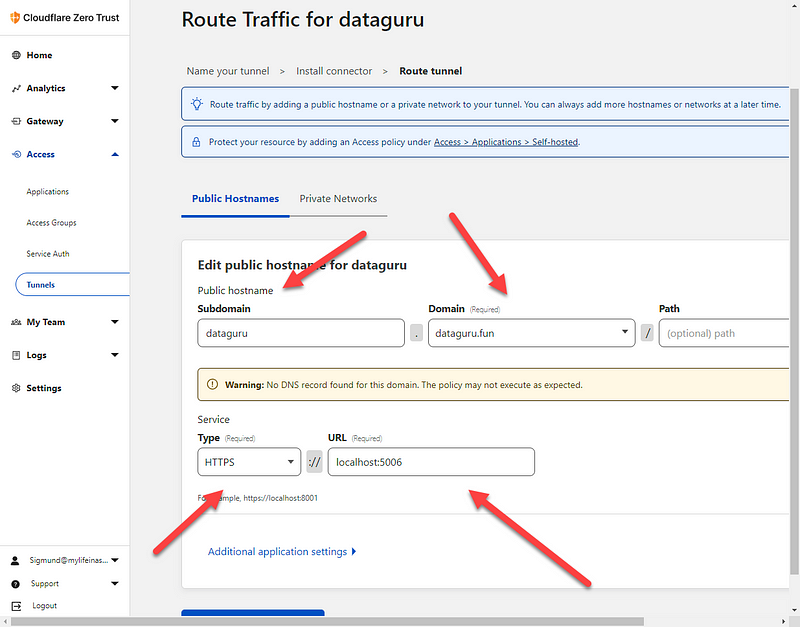
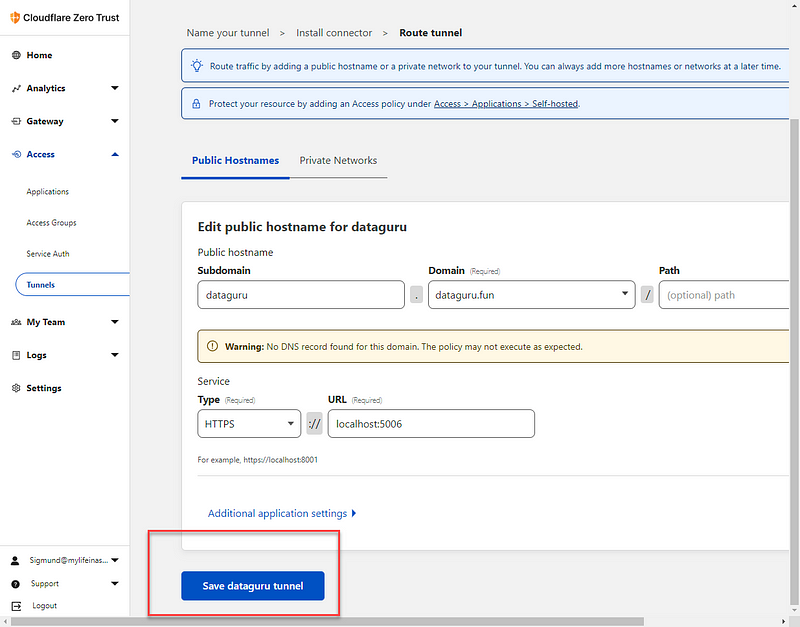
On the next screen, we will now give the tunnel a subdomain, and on the Domain, we will now choose the domain we just added to Cloudflare. We will also specify the local service on the internal resource that we want to expose to the public internet, in our case, we chose HTTPS and the URL is localhost:8006–8006 is the default port for the ProxMox Web interface. You may ignore the displayed DNS error if you encounter it.
NOTE: There is a typo in the screenshot so ignore it please, 8006 is the correct port :)
We now click “Save tunnel”
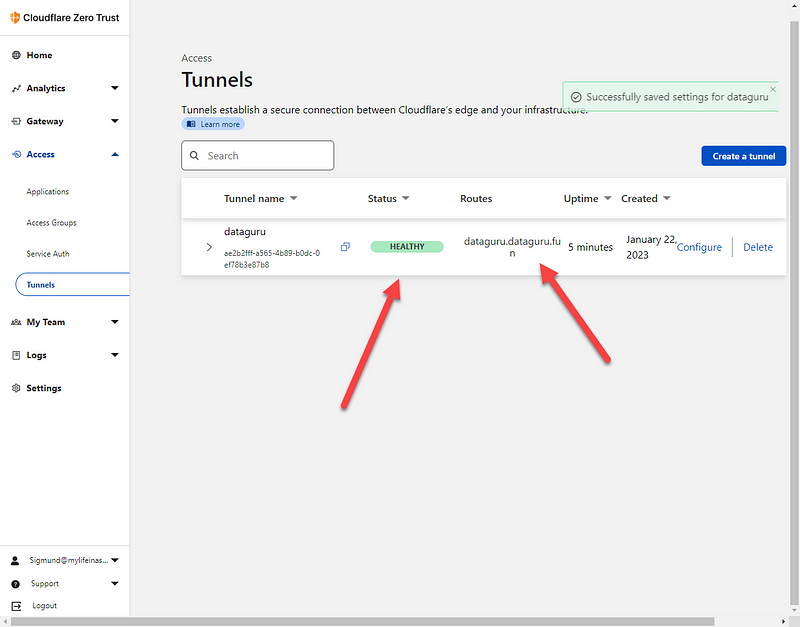
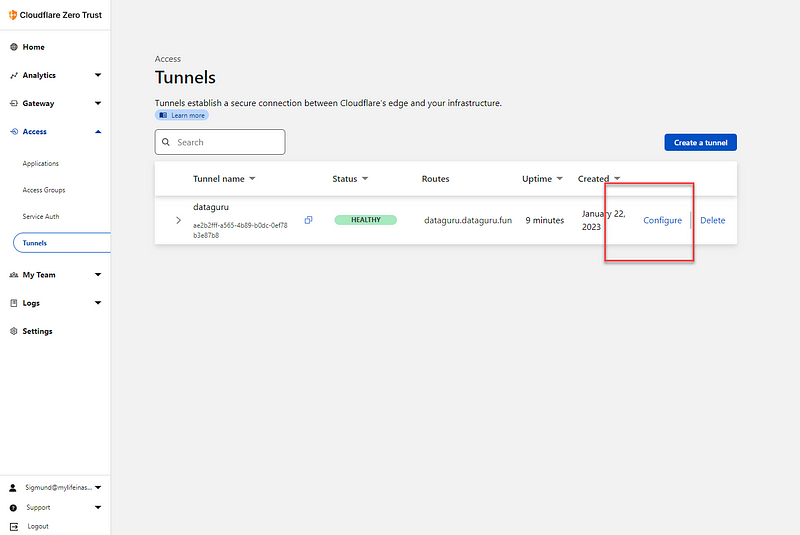
We can see that the tunnel status is “healthy” and we can see the route.
If your internal system uses a self-signed certificate, we need to make one more change in the configuration now. For this, click “Configure”
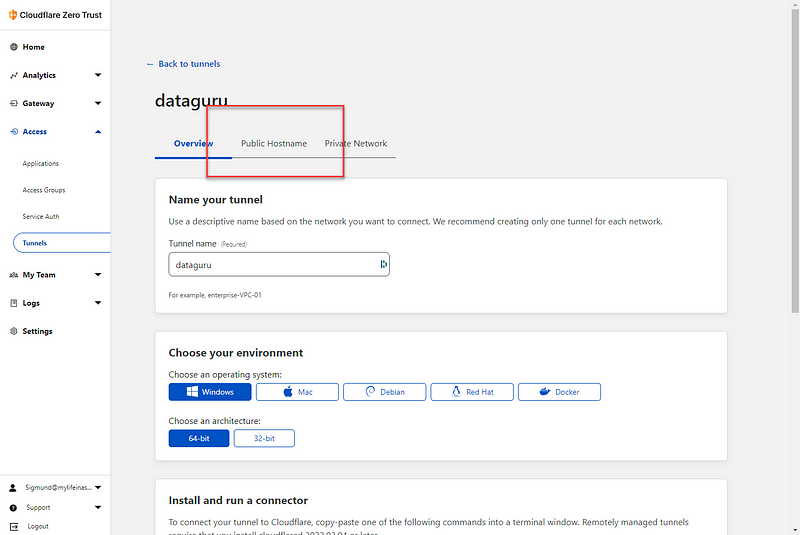
Choose “Public Hostname”
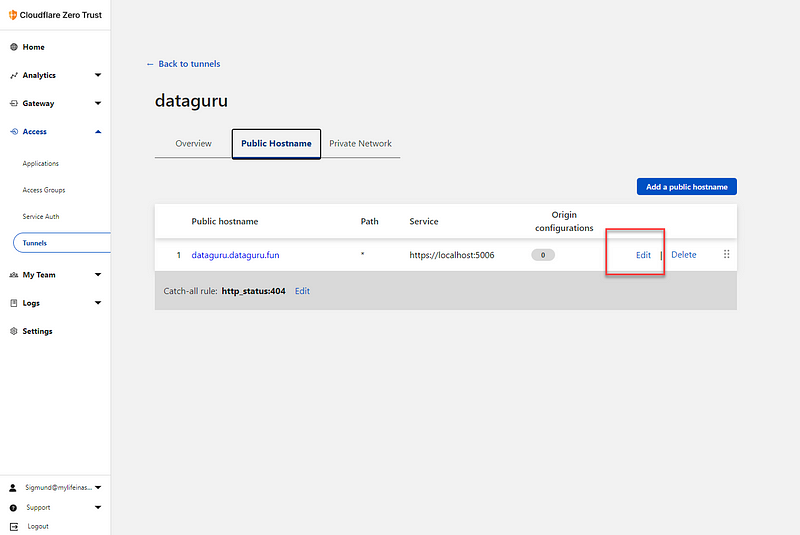
Click “Edit”
Expand “Additional Application Settings”

Under “TLS” change the “No TLS Verify” setting to “Enabled”
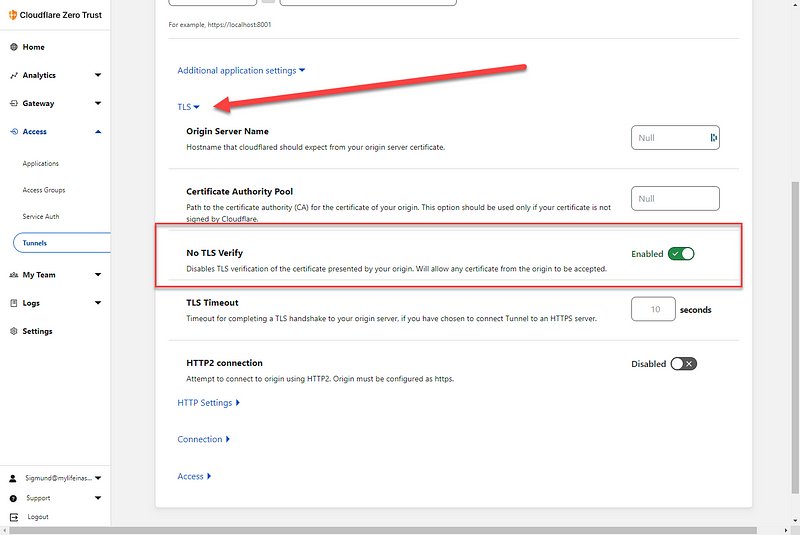
Click “Save hostname”
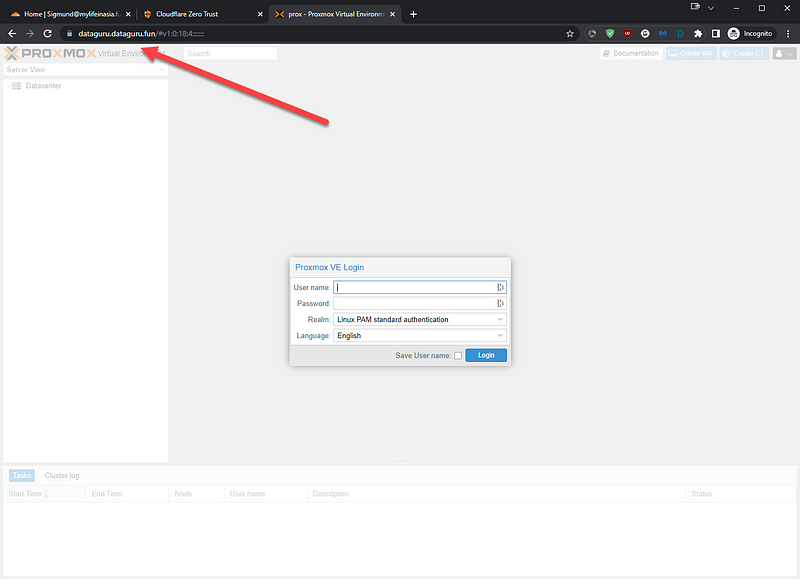
We are now all set and can try accessing our internal ProxMox server via that Cloudflare Tunnel by entering the URL as shown under route in a browser. And as you can see, it works just fine:
That’s it for today, here are some useful links:


Also, check out my youtube channel here: